Introduction & Best practice
On the style you will be able to comment on your sample request. If you want to learn how to make comments from the Dashboard click on the link to know more:
When commenting a sample, make sure that the status is set as 'Received'.
The supplier won't be able to see your comments until the sample status is changed to 'Commented'.
NOTE:
- A comment field for Measurement will only appear if a measurement chart has been created.
- A comment field for Item placement tab will only appear if an item list has been made.
Table of contents
Step-by-step
1. Double click on the sample request to open it, or click on the edit icon.
2. The pop-up window will show the first sub-tab of the sample request, which is default the 'measurement' sub-tab. If you have made changes in the sub-tab in Admin, it would show your own first sub-tab.
NOTE: If you have requested multiple sizes in the sample request, the measurement sub-tab will contain one size chart per size.

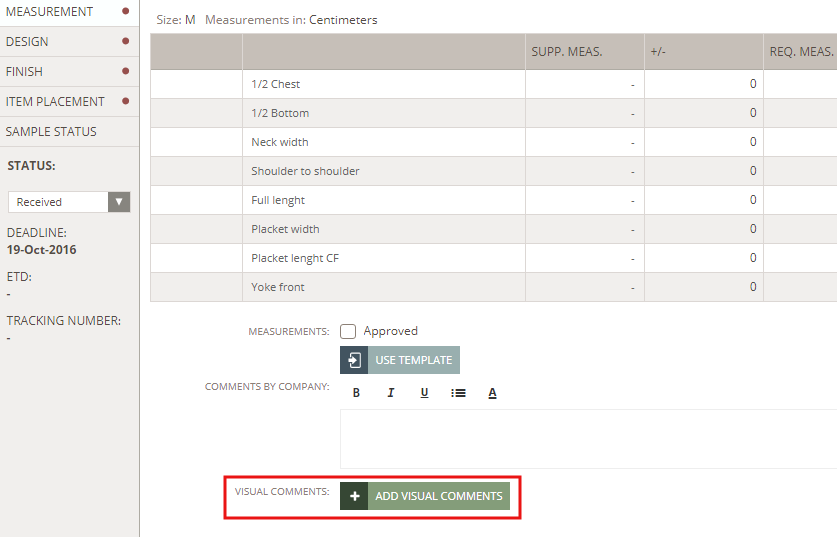
3. In the pop-up window, start by filling in your sample measures in the column 'Comp. Meas.'
If the measure is out of tolerance, the number in the 'Comp. meas.' column will be displayed in red.

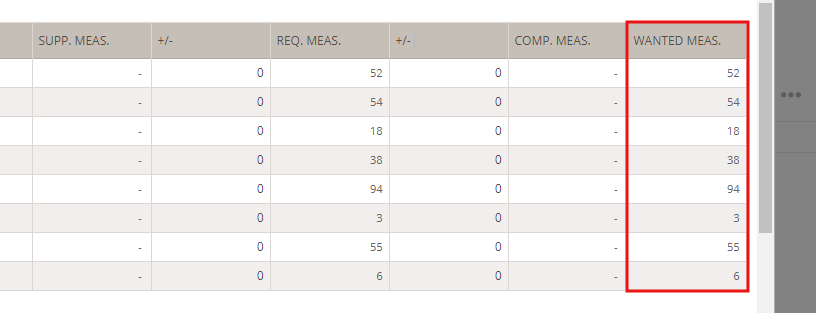
4. If you need to change a specific measure, use the 'Wanted meas.' column. The measurement chart will automatically be updated with the new wanted measure and the gradings will be kept.
5. Add your written measurement comments. If you have made text templates in admin, you will be able to use them here.
6. Upload photos (this is optional) by clicking the 'Add visual comments' button or use the drag and drop functionality.
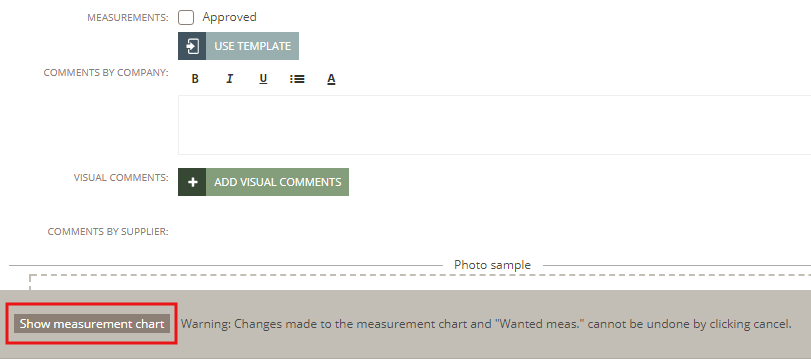
7. Click the 'Show measurement chart' button at the bottom to edit your grading or the grading size from the measurement chart.
8. If you want to approve the measurements - simply check the box for approval.
NOTE: It is recommended to write in your comments, what the approval means.
e.g. "The measurements are approved for next step. Please follow all wanted measurements for next sample"

9. Move on to the next sub-tab, by clicking on 'Next' or clicking on the sub-tab name. The default sub-tabs are Design, Finish and Item placement. 
10. In the Design, Finish and Item placement tabs, add your comments and photos - if needed. For 'Item placement', your supplier might have marked if the item is available or missing.
11. Once you are done, simply change the sample status to 'Commented' and click 'Update' to save.
NOTE: If you don't want the comments to be visible for your supplier yet, you can save your comments as a draft in the received state. However, any changes made in the measurements will be already saved in the measurement chart of the style.
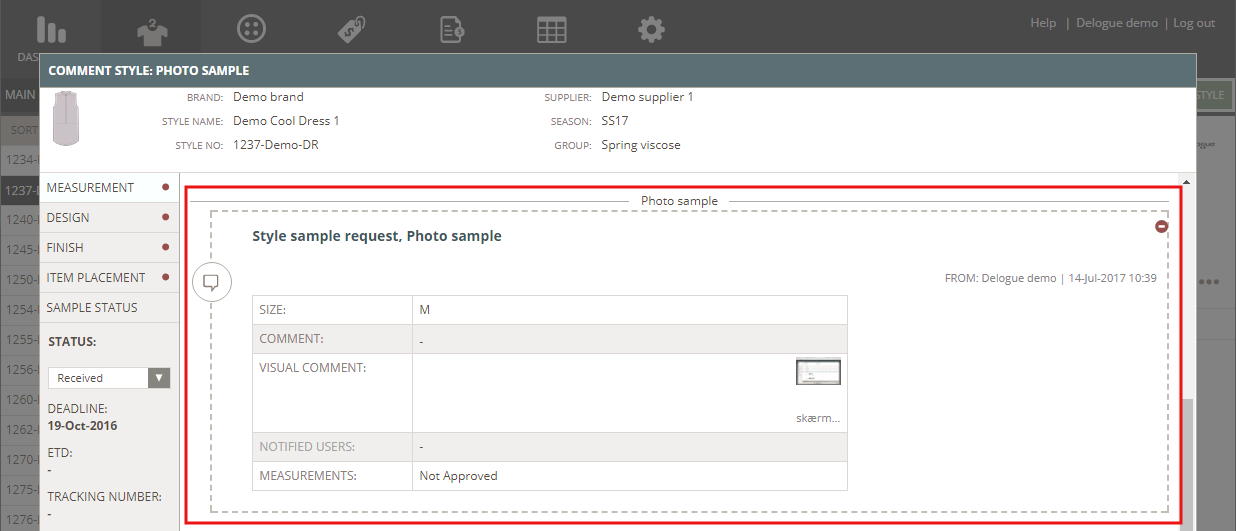
A dotted border will be displayed in all drafts so you can easily distinguish them from actual comments.
You can also delete a comment at this state - simply click the delete icon in the top right corner of the comment box.
Supplier comments and past comments
You will be able to see your supplier(s) comments as you scroll down the comments thread for each sub-tab. Past sample history of a specific style will also be displayed here as a log change.

Using text templates
Text Templates can be used when working with sample requests. You can use the templates when sending out requests or commenting on a sample. This helps you to avoid missing information and typing things twice when communicating with your suppliers.
Learn more about how to set up text templates in Admin here.
Learn more about how to work with text templates on sample requests here.