CREATING AN ITEM LIST IN DELOGUE PLM
It is very different how each brand decides to use the Item list. Some decide to make it very detailed, others only use it to select sellable style colors.
The item list is made of a matrix of the style color and item from the Item library
For each style colors, you will be able to select the color combination of an item.
To create a complete item list, you will need to follow these steps:
- Adding a style color
- Adding an item
- Creating an item color combinations
- Import item list from another style
- Import item list from styles in other seasons
Before you add colors to the item list, you need to create them in the style color library in the Admin section. Only users with admin rights have access to this section, so make sure that the admin users in your company create this list before you move on in the process.
If you've already set up your style color library in the Admin, you can now add a style color:
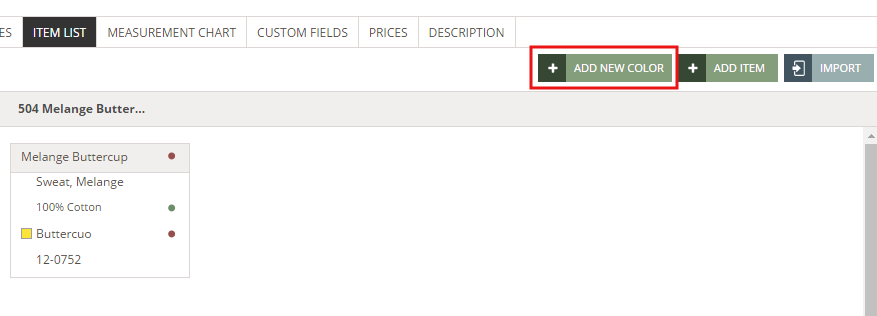
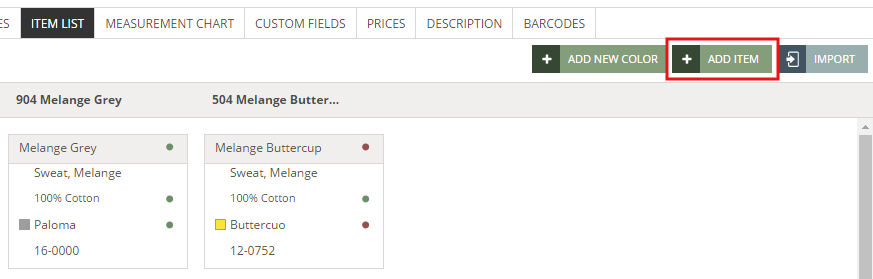
1) Click the 'Add new color' button
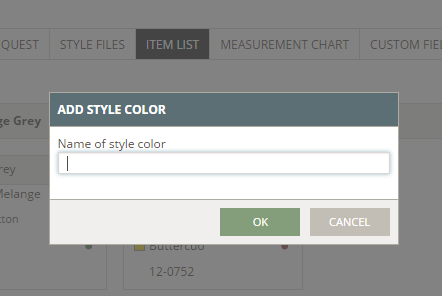
2) In the pop-up window, type in color name or ID and hit 'Enter'. As you do it, a list of the added colors will appear. Simply select the color from the list and click 'OK' to save.
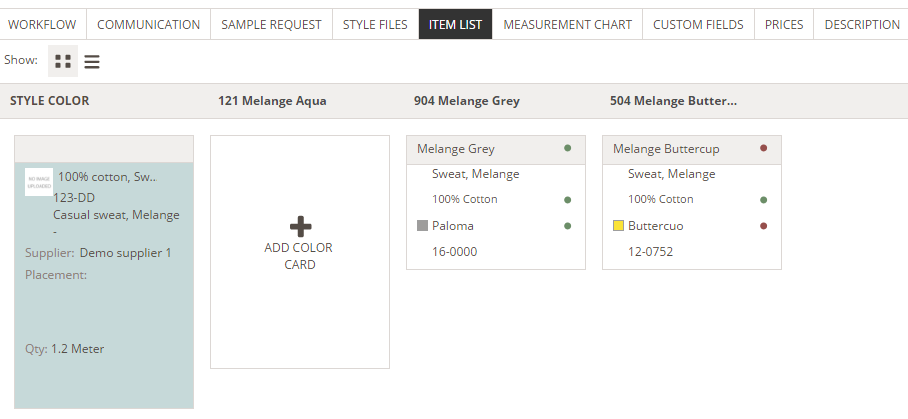
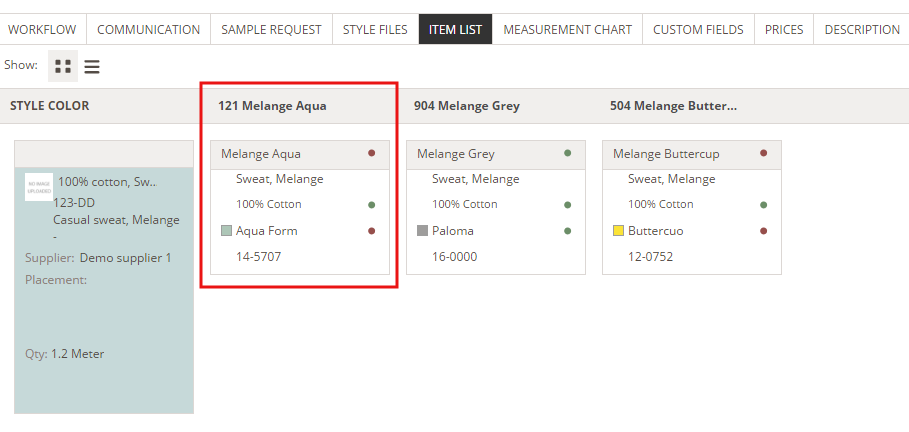
3) We added the color '121 Melange Aqua' which is now visible on the Item list
NOTE: It is very important to add style colors to the item list in order to make a sample request in specific colors.
EDITING A STYLE COLOR
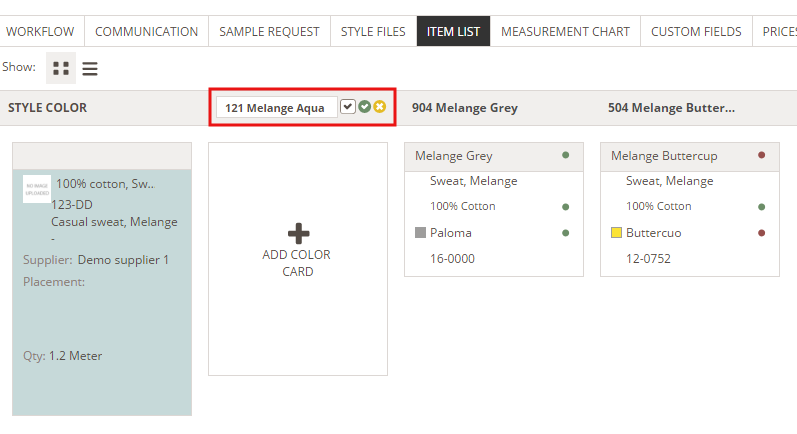
You can change the style color if you wish to have another style color instead. Simply mouse over the color name and click the blue edit icon. When in edit mode, type in the name or ID of the new color and click the small green icon to save.
NOTE: The item color combination will remain the same. Double-check that combination is still correct.
INACTIVE VS. DELETING A STYLE COLOR
Newly added style colors are per default active but you can make them inactive or simply delete them when, for example, a style color is canceled from a collection. We always recommend that you make style colors inactive so your information about the item color combination is kept.
MAKE A STYLE COLOR INACTIVE
Mouse over the style color name and click the blue edit icon - or double click on the color name. When in edit mode, uncheck the box next to the small icons and click the green icon to save.

All inactive files will get a beige background so it will be easier to recognize active and inactive style colors.

HIDING INACTIVE STYLE COLORS
If you end up with many inactive Colors, it can be difficult to keep a good overview.
You can choose to hide those inactive colors with a simple click on "Hide Inactive Colors"
And with a simple click, you can see them again by clicking on the button again.
DELETE A STYLE COLOR
Deleting a style color is similar to deleting style files. Simply mouse over the style color name and click on the delete icon.
Notice:
Your item color combination will also be removed from the delete style color.
If you have an integration with your ERP solution, make sure you don't delete style colors after importing data to ERP - the ERP solution will not be able to register this change. Instead, you can just set style colors as inactive and the ERP will get this information during the import.
ADDING AN ITEM
To be able to add an item, the item needs to be created in the Item library.
Start by following these steps:
1) Click the 'Add item' button
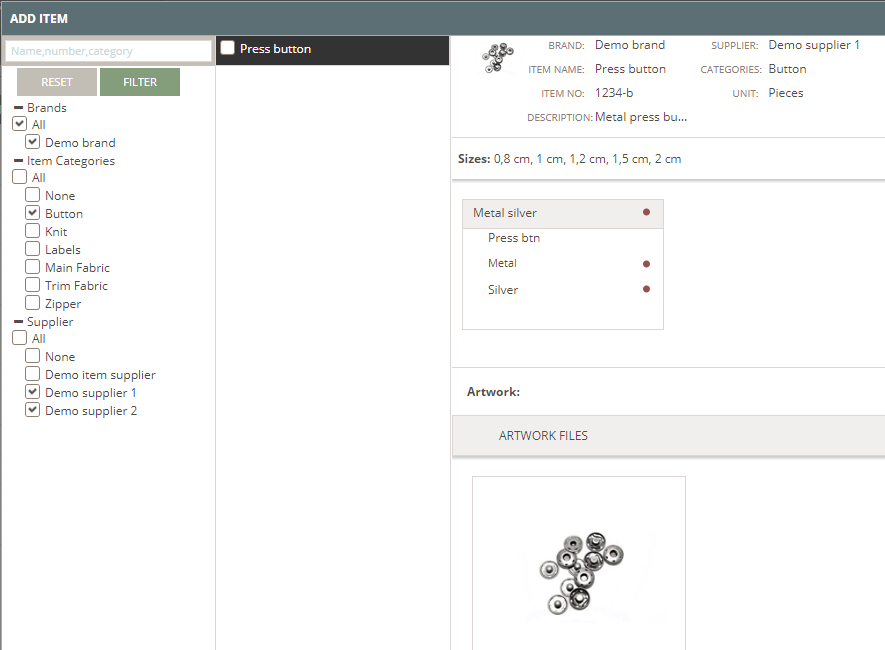
2) In the pop-up window, search for the item in the search field.
Filter on the different options like Brand, Item category or Suppliers.
After that, simply select the item you want to use. In this case, we searched for 'button' and two results were displayed. We chose to use the 'Normal button' item which has a checkmark on it.
3) Click 'Insert' and the item will be added to the item list. By clicking on the item name, you will be forwarded to this specific item in the Items section.
CREATING AN ITEM DIRECTLY WHILE YOU WORK ON THE STYLE
Please notice
This feature only works when you use:
- The Color Library for Items too
- Color Cards to select colors
When you have opened the Add Item pop-up you can now choose to create a new Item directly.
If you have searched for the Item you need but don't find it - you can create it directly.
Simply click on the "Create new Item" (or the short cut "Alt I")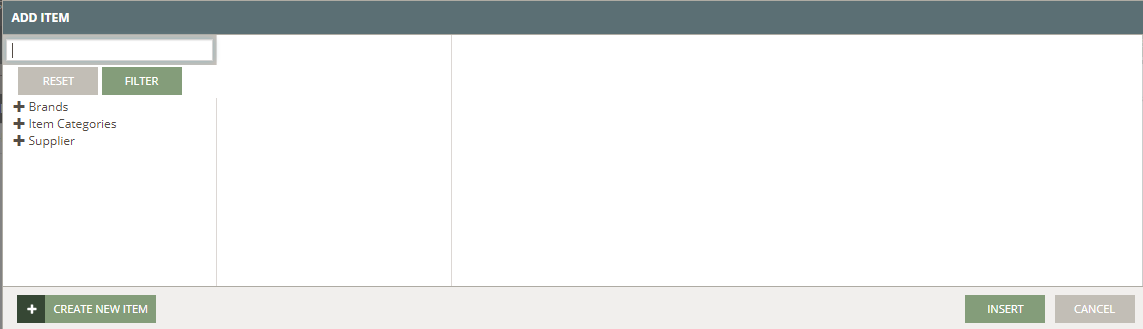 This will open a new pop-up window where you get the basic Item fields so that you can create your new Item.
 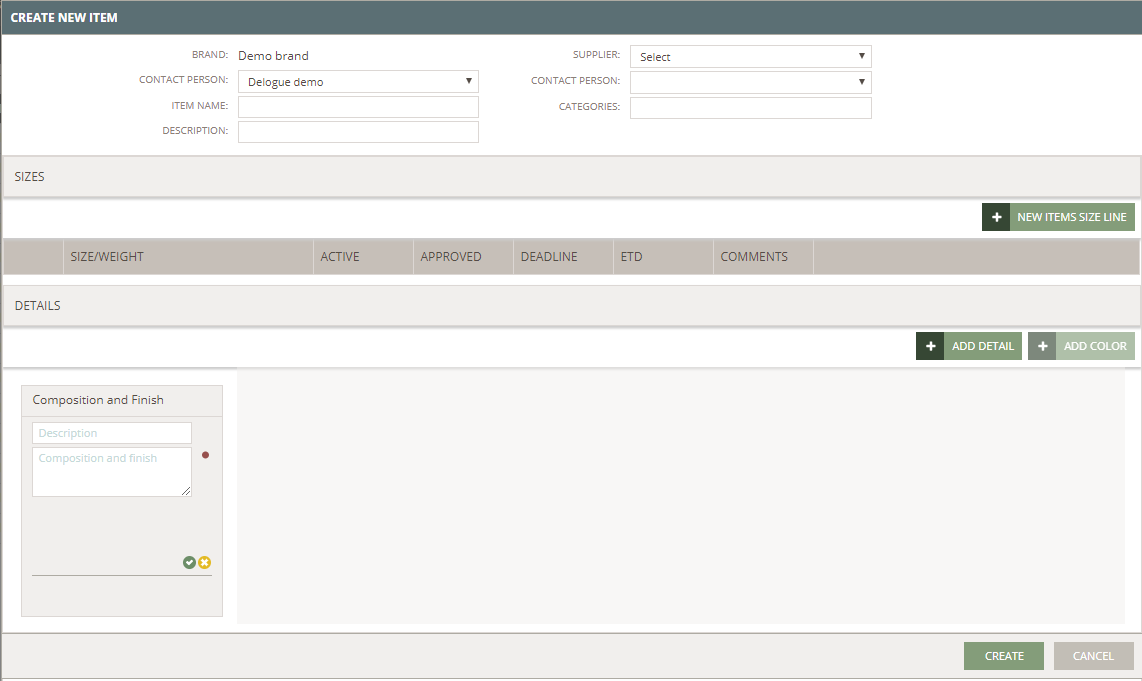 The same fields that are mandatory when you create an Item on Items are still mandatory when you create your new Item directly on the Style.
Make sure to name your Item.
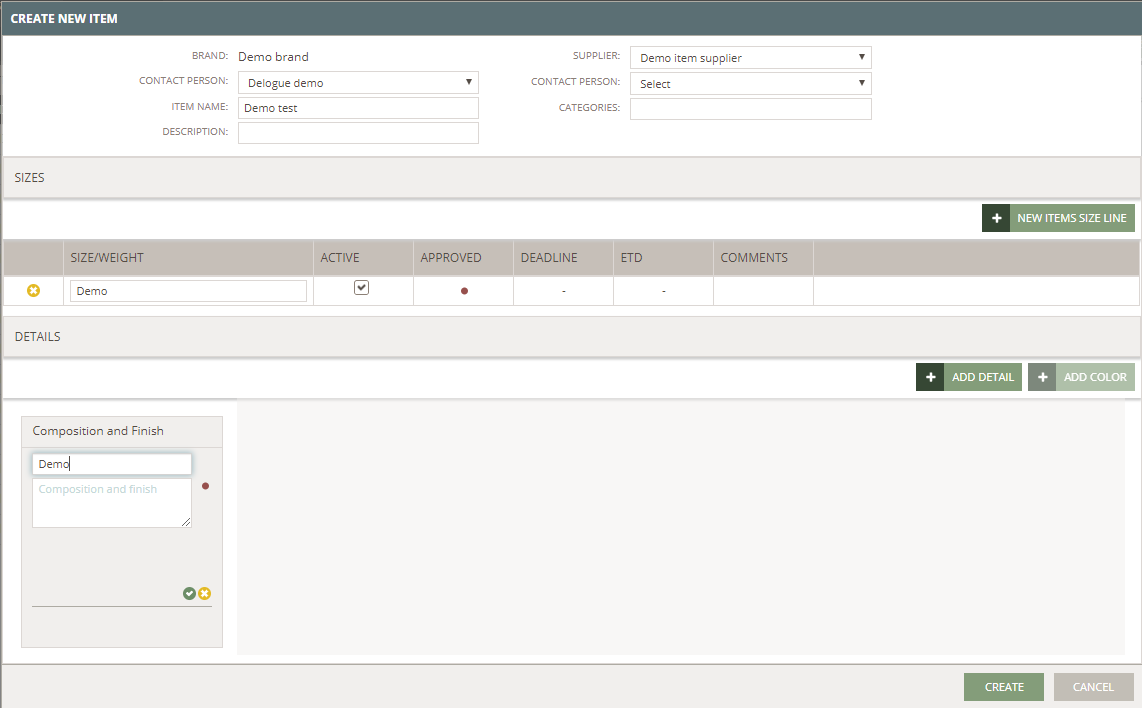
If you already searched for a specific Item name - this will be the default Item Name.
Set up the Item Sizes you need.
And set the needed Composition and Finish details. Remember to save these - you will not be able to add colors until they are saved.
The compositions will be ordered by the highest percentage at the top.
Now you can add color details for the new Item.
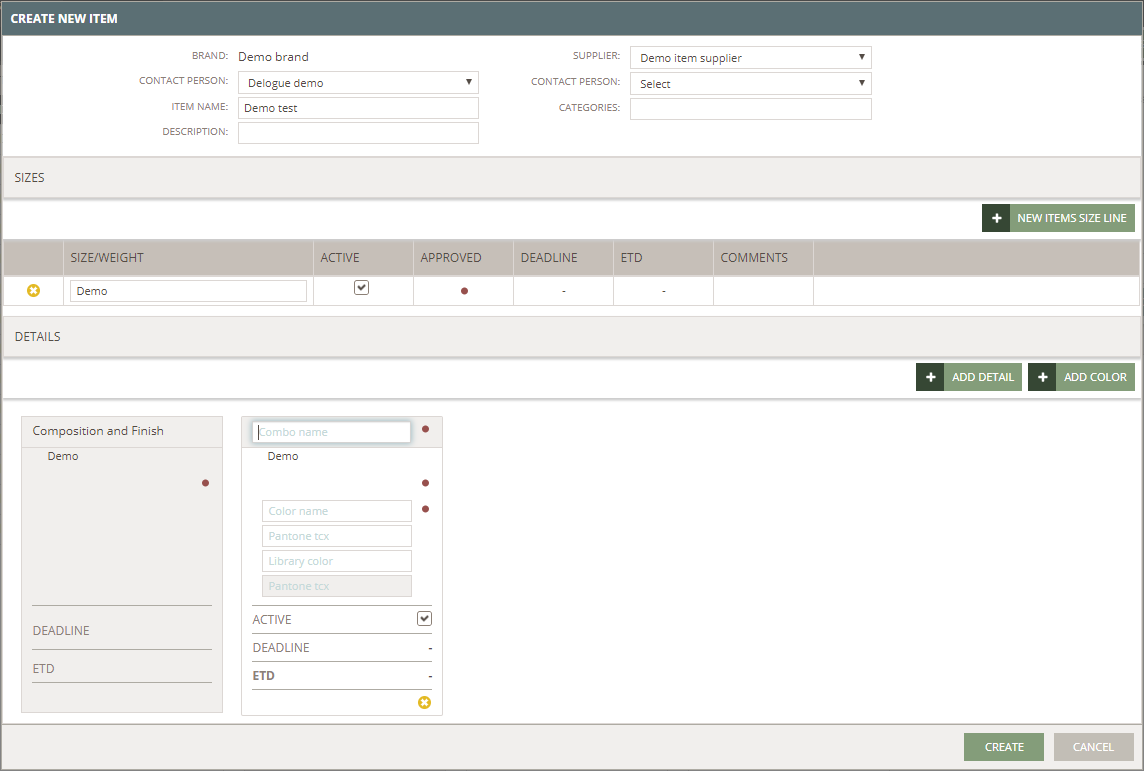
When you are all done - click on the "Create" button.
Now, this Item will be added to the Style you are working on and you can now select the colors you need.
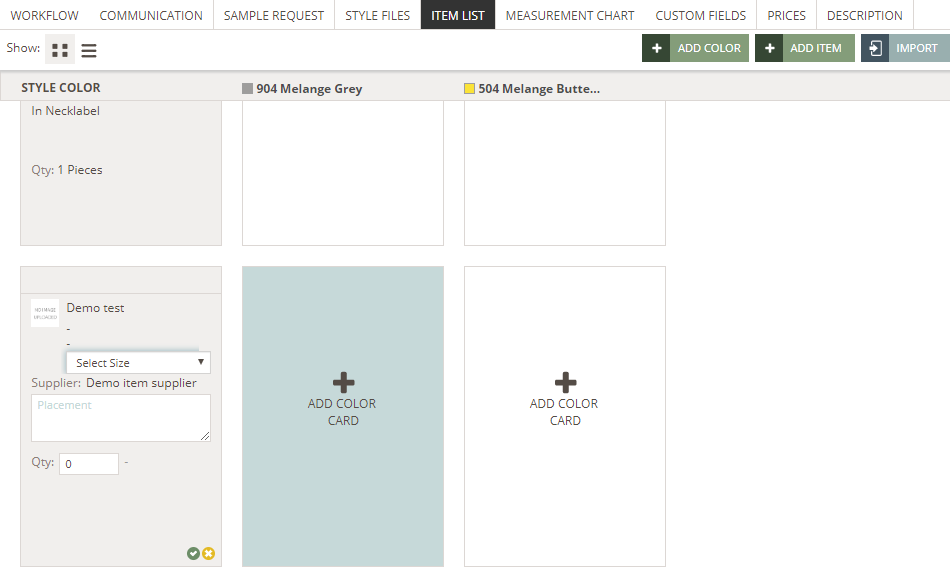
If you have additional information for this new Item you have created - you will have to go to Items and add this extra info - such as Item Artwork, etc.
Please notice:
If your company is using the Care Instruction module - you can create your new Item with the composition percentages
ITEM LIST VIEWS
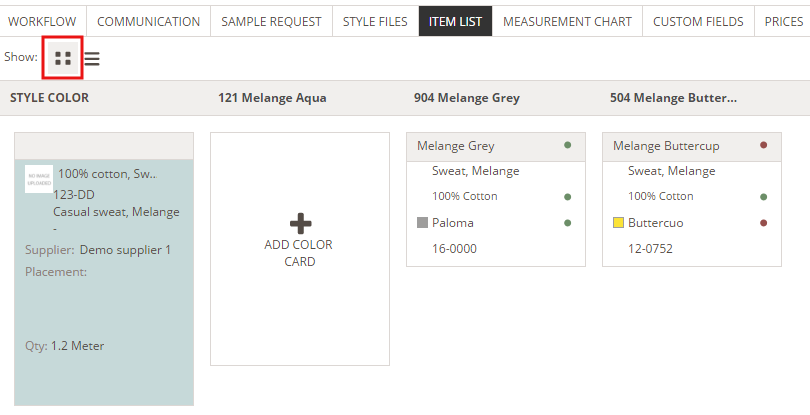
You can visualize your Item list using two different views: thumbnail or list view. Easily change between views by clicking on the respective icon next to the 'Show' option.
THUMBNAIL VIEW
The thumbnail view gives you a more graphical overview of your items.
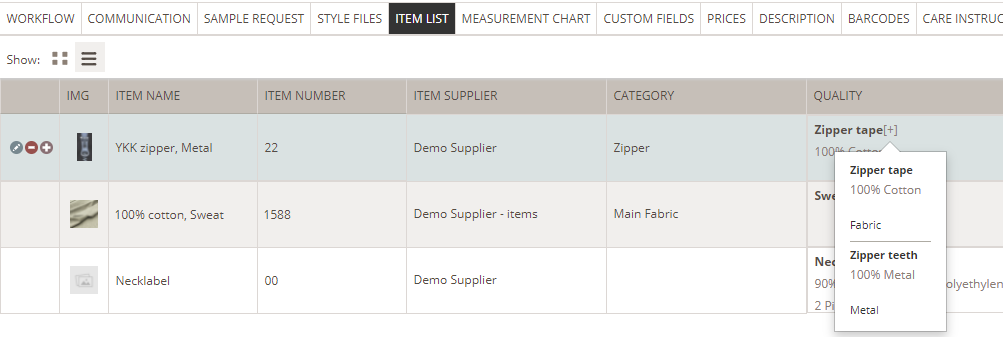
LIST VIEW
On the other hand, the list view provides you with a matrix of all items where you drag and drop the different table rows. Remember to use the scroll bar to navigate through all table columns.
In the Quality column, you will notice that there can be a "+" - when you hover over this it will display any multiple details the Item in question might have.
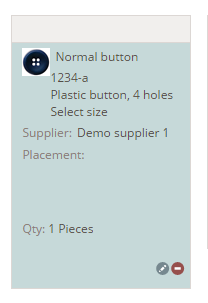
EDIT ITEM SELECTED SIZE, DESCRIPTION, AND QUANTITY
To edit the details of your items for each style, simply mouse over the item in question and click the edit button - or double-click on the item thumbnail (or row when in list view). Make the changes and click the small green icon.
NOTE: If you wish to edit information regarding the item, you need to go to the Item Library to edit the specific item.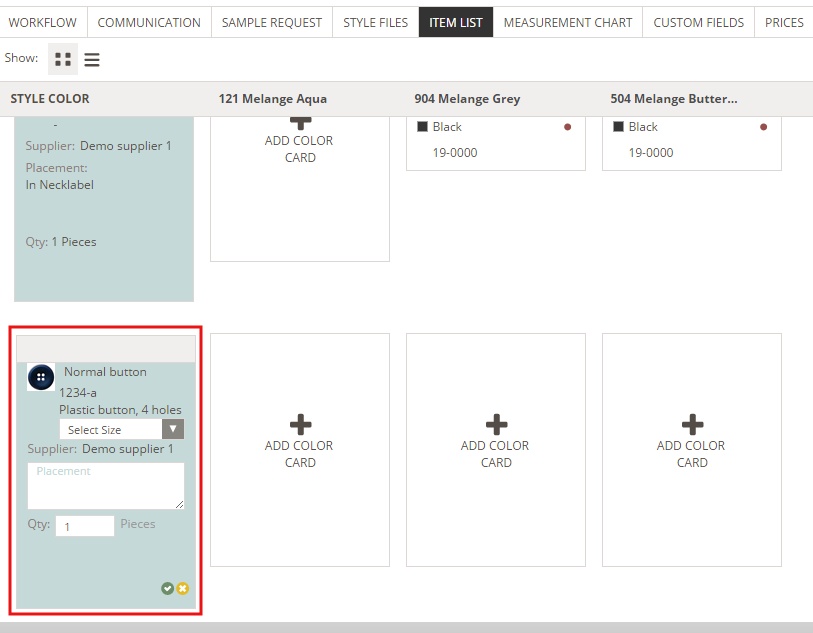 DELETE ITEM FROM ITEM LIST
As in Style files, you can also delete an item. Simply mouse over the item in question and click the delete button.
NOTE: The changes cannot be undone.
CREATING AN ITEM COLOR COMBINATION
It is necessary to create colors in the Item Details to be able to do color combinations. To add a color card to this specific style color:
1) Click on the big plus sign or on the 'Add color card' text

2) In the 'Choose color card' pop-window, click on the color you want to add. In this case, we chose the color Melange Aqua which is now visible on the Item list.
CHANGE A COLOR COMBINATION
To change a color combination, simply click on the item card, select a new color, and click 'OK' to save.
REMOVE AN ITEM COLOR FROM THE ITEM LIST
Just like deleting an item, you can also delete a color from an item. Mouse hover on the color and a cross icon will appear - click on it to delete the color card.
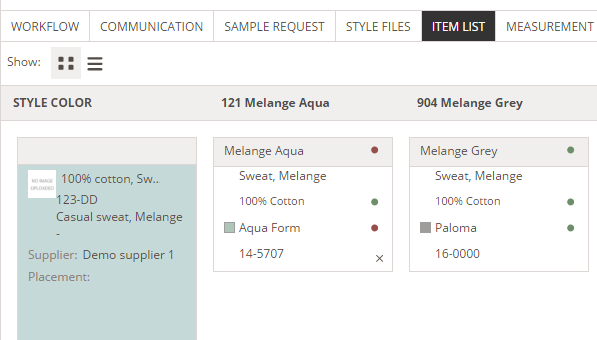
NOTE: The system will ask you the verify this action. If your item color is used in an item list on a style, you will not be able to remove it and the system will show an error message.
IMPORT ITEM LIST FROM ANOTHER STYLE
To import an item list from another style:
1) Click the 'Import' button on the Item list sub-tab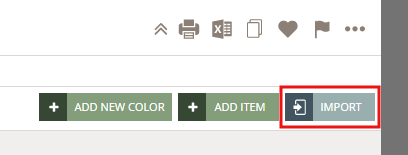
2) In the pop-up window, use the search field to find a style name and style number. Once you are done, click on a style to see details on its item list. In this case, we searched for the style number '1234' and selected the style 'Fancy Dress'.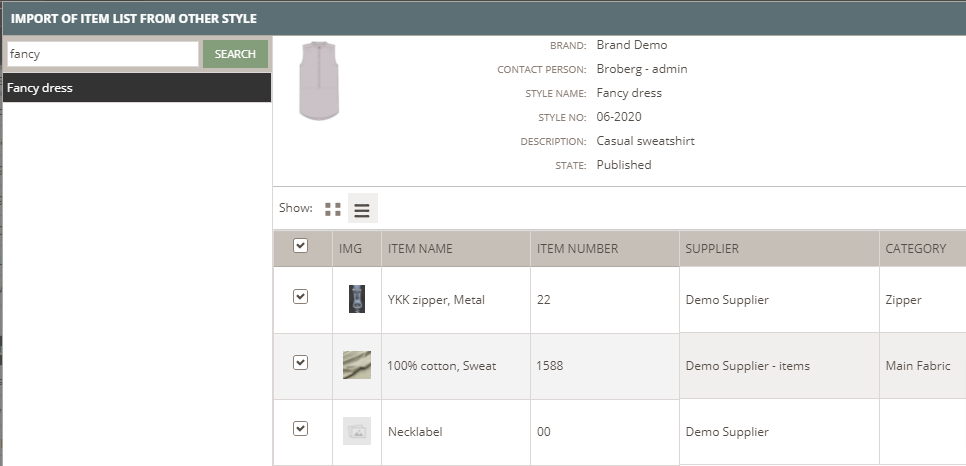
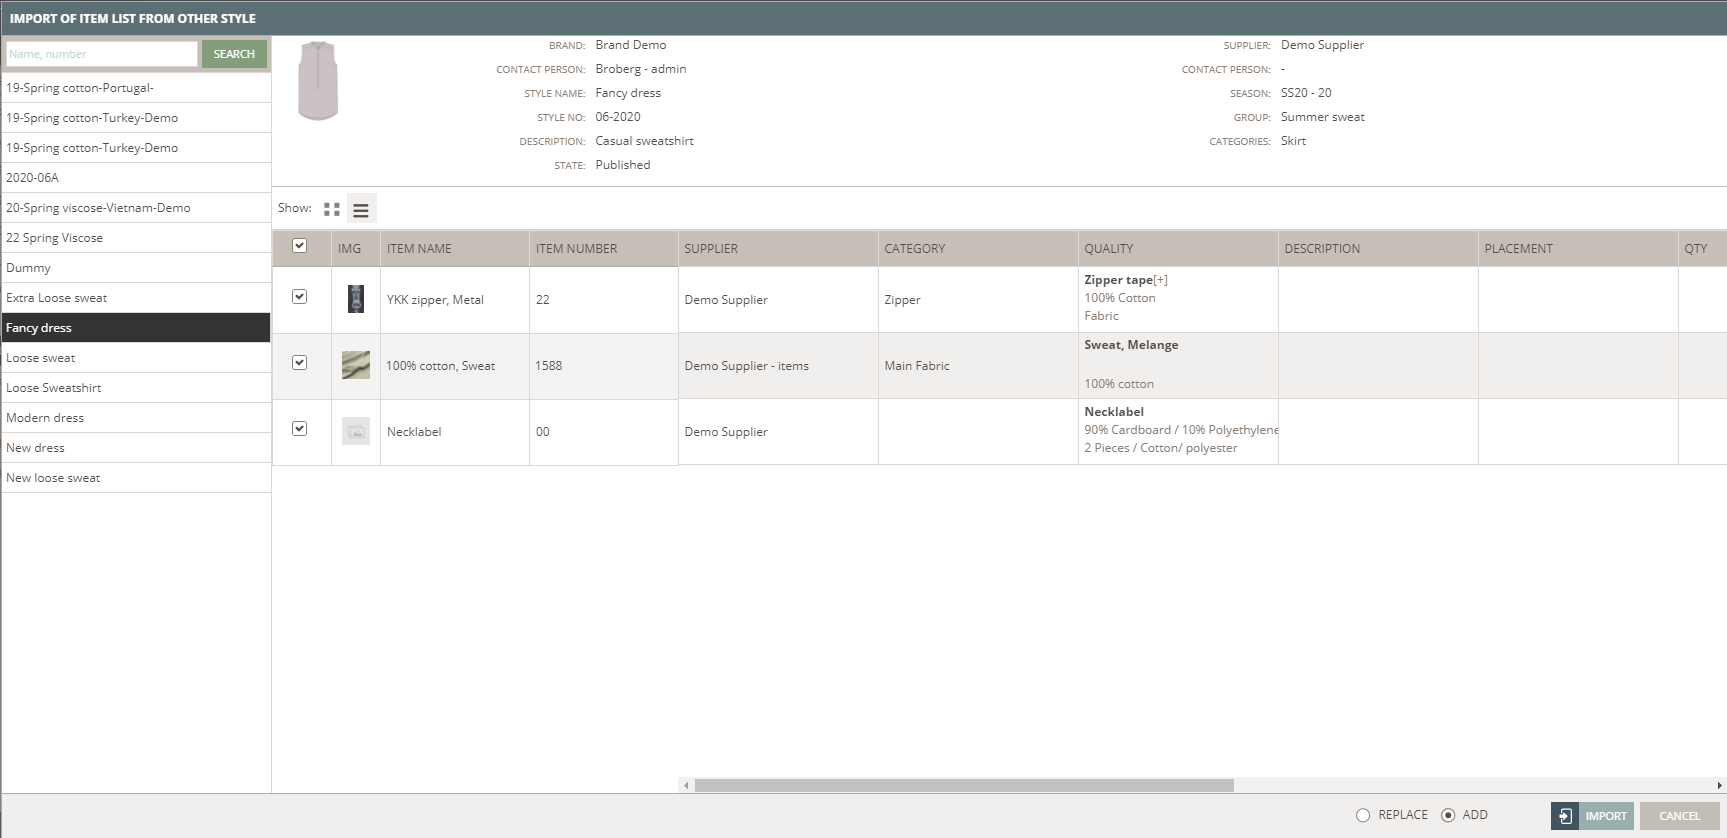
3) You can choose to import and Replace or Import and Add.
Replace will replace whatever you already had in your Item list - items and colors
Add will only add Items to your Item List - but not the colors.
4) Click on the 'Import' button.IMPORT ONLY SOME ITEMS
Maybe you only need to import a few items to your Item List.
Click on the "Import" button and search for the style you want to import from:
In the List view select the Items you need to Import.
These can only be added to your Style.
Click on Import and you have them on your Style.
Remember:
If you switch to Thumbnail view - it will import whatever is selected (in list view)
IMPORT ITEM LIST FROM STYLES IN OTHER SEASONS
We have improved the functionality of importing an item list to a style:
- You are now able to import item list from styles with a different season than the current style
- On the import pop-up window, all styles are displayed with active/inactive
