Introduction & best practice
In this article, you can learn how to add care instruction information to your styles. The specification for a style can help the communication with the supplier. The uploaded information about icons, style composition, and care instruction text can be used as a reference for the supplier to create care labels.
Table of contents
- Before you start
- Step-by-step guide
- Import care instructions from another style
- Working with the Main Item tag
- Working with subtabs and exceptions
- Working with care instructions per colour
- Let suppliers edit care instructions
- Video guide - care instructions on Style level
Before you start
1) Make sure the ‘Care Instruction’ role is assigned to you as a user; otherwise, it will not be possible to see this section. To add the user role, go to Admin > Company info > Roles
2) Make sure the Admin section regarding Care Instruction has been filled out. If not, you cannot add care instructions to styles. Read how to here
Step-by-step guide
Icons
Navigate to Styles > Care Instructions
- Click on '+'
- Select a subtab from the dropdown menu and click 'OK'
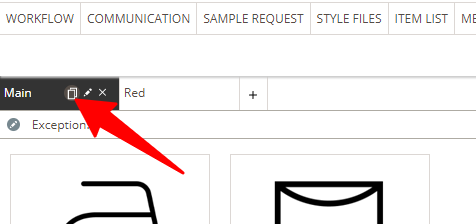
- Click on the pen icon to set the care instruction in edit mode
-
Select a region from the dropdown. The system will suggest the mandatory care icons in the correct order, based on regional regulations. The option 'Custom' gives you the option to choose any icon in any order
- Click 'Add icon' and select the Icon(s) you need
- Click 'OK' to confirm your selection
- To add more icons click on the 'Add icon' button again and select the extra icons
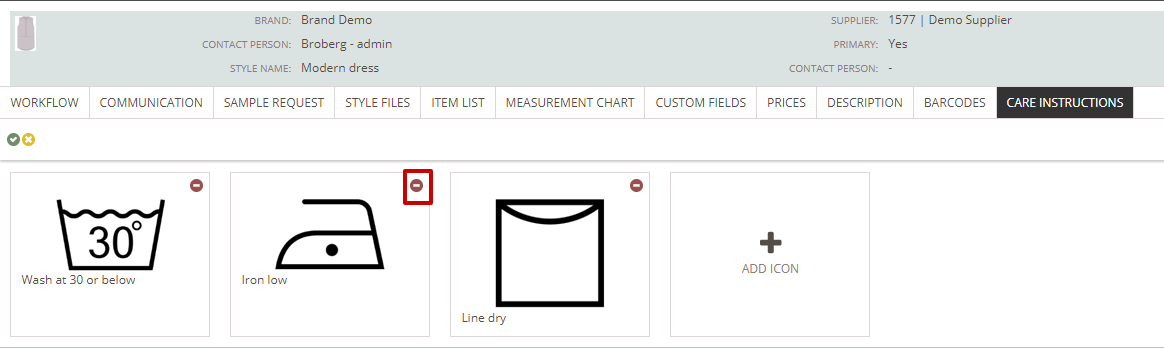
- You can remove an Icon from your style at any time - click on the red delete button
Layers
If your style contains layers with different compositions, you can define them here - you can add as many layers as you need for your style. For example, your style could consist of a main layer and a lining.
- Select the correct layer from the dropdown - the layer options from the dropdown are created in Admin > Care Instructions. Read more about it here
 '
'
- To delete a layer, click the red 'Delete' button next to it
- If you have added materials to the layer you are deleting, these will also be removed together with the layer
Materials
Under each layer, you can define the composition of a layer.

To do that there are two options:
Option 1
Fill out the composition manually-
In the left field fill out the percentage of the material - this can be between 0 and 100
-
Make sure the sum is 100% in total
-
Numbers will be displayed in red - as long as the sum is not 100
-
The composition can be saved - even if the sum is not 100
-
- In the right field choose the name of the material
-
Materials will be selected from the dropdown - the material options are created in Admin > Care Instructions. Read more about it here
-
- Click on the green checkmark icon to save your changes
Option 2
Work with the Main Item tag
- Choose 'Main material' as a layer - this will automatically fill out the composition of the item tagged as Main Item. To find out more about how to work with the Main Item read here
- Click on the green checkmark icon to save your changes
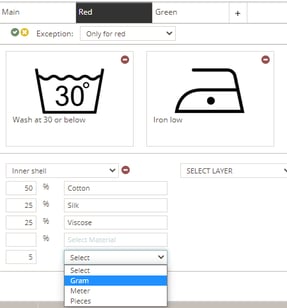
- Once the composition of a layer is filled out, you can also define the weight of your composition
- In the left field fill out the weight value
- In the right field select the unit from the dropdown, e.g. gsm to describe the quality of a fabric - the unit options are created in Admin > General settings > Units
Read more about it here
Instructions
If you need to specify care instructions, such as shrinkage or separate washing, you can add the text instructions using the following steps:

- Click the pen icon to set the care instructions into edit mode
- Click the green button 'Add Instructions'
- Place a checkmark next to the care instructions you need in the list displayed in the pop-up window
- Click 'OK' to save
- Click on the green checkmark icon to save your changes
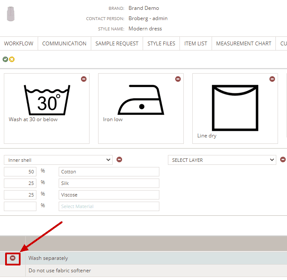
- To delete an instruction from your style go into edit mode and click on the red delete icon
- Confirm the removal and that the instruction text will be deleted from your style
Import care instructions from another style
When you work with the same care instructions on different styles, you can work more efficiently by choosing to import care instructions from another style.
NOTE: Importing Care Instructions will overwrite and replace all Care Instruction data you already have on the style.
Navigate to: Style > Care Instructions
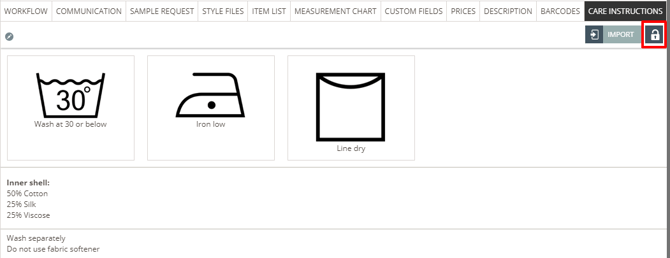
- Click on the 'Import' button in the top right corner
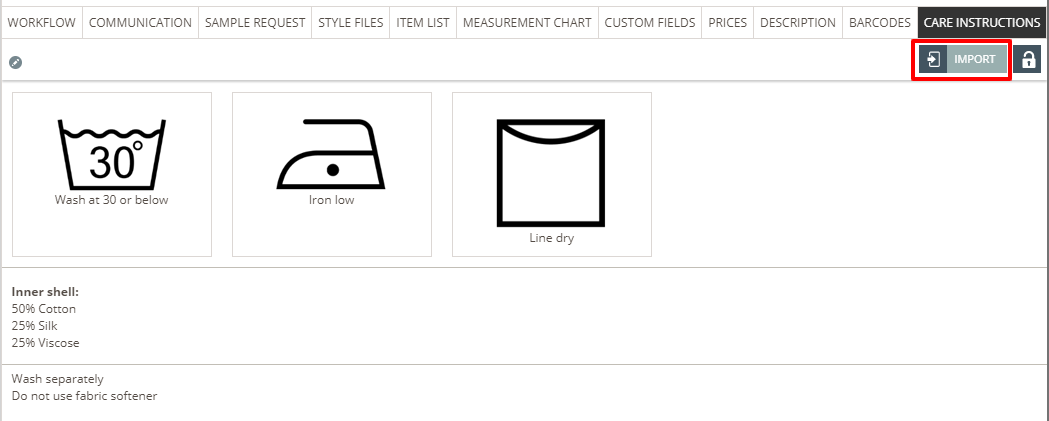
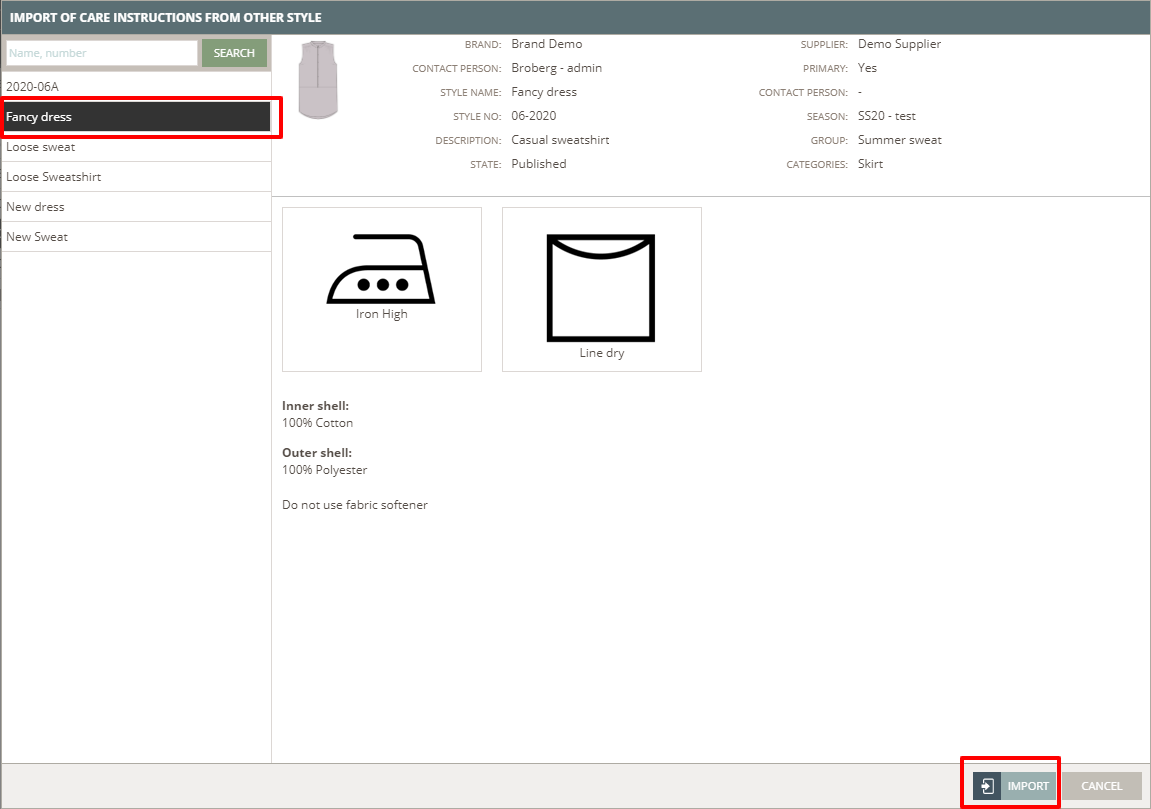
- A pop-up window appears. You can either search for the style you want to import your care instructions from or you click on the search field and press enter to find a list of all of your styles that you can choose from
- Select the style
- Click on the 'Import' button in the lower right corner

Working with subtabs and exceptions
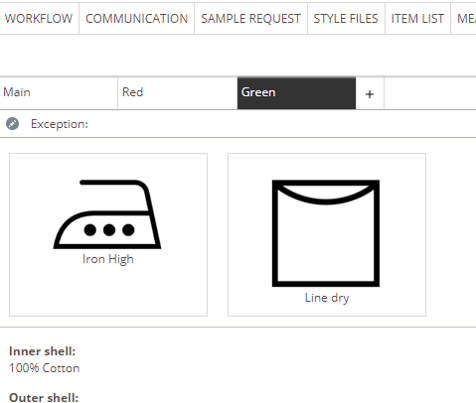
Once you have set up subtabs and maybe exceptions in Admin - you can start using them on style level. Each subtab can hold information about icons, layers, materials, weight and instructions.
Adding Subtabs
- You can add one or more subtab on a style at any time
- Click the '+' icon
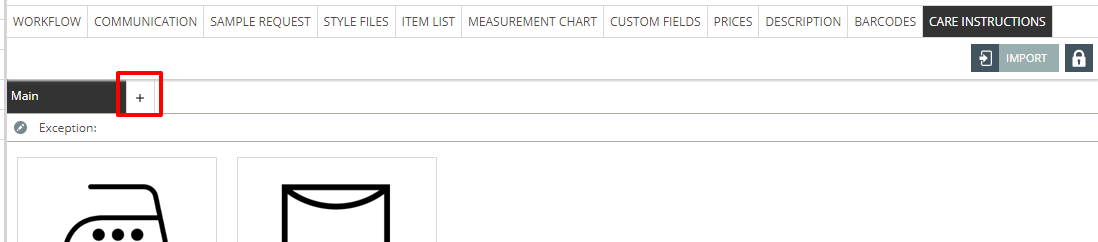
- Select a name from the dropdown - the name options for subtabs are created in Admin
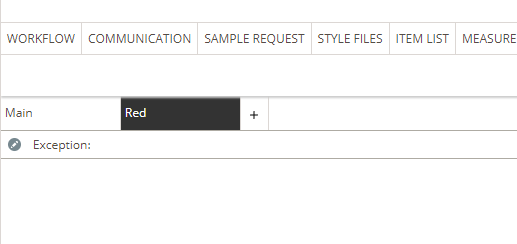
![]()
- Click 'OK' and your subtab will appear
- Your new subtab will not hold any data yet
- Click the pen icon to set the care instructions into edit mode and add the needed icons, layers, materials, and instructions
Copying subtabs
- Instead of creating a new subtab you can copy a subtab that already holds data
- Mouse over the subtab you want to copy
- Click the 'Copy' icon
- Select from the dropdown menu a new name of the copied subtab - you can only select between the names defined in Admin

- Click 'OK' and your copied subtab will appear
- Click the pen icon to change information if needed
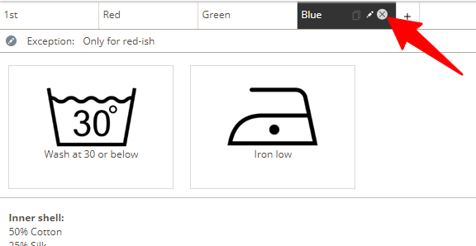
Deleting a subtab
- You can delete a subtab at any time
- Only the last subtab can not be deleted - there always has to be one subtab left
- Mouse over the subtab and click the 'delete' icon - you will be asked to confirm this action
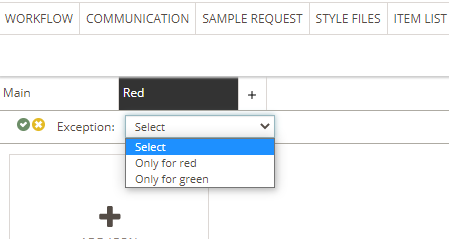
Exception reason on a subtab
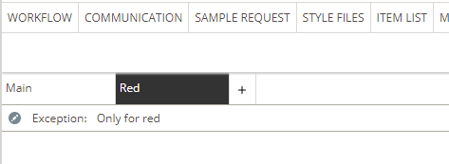
For each subtab, it is possible to select an exception reason - e.g., if you want to indicate that the described care instructions under this subtab describe the care instructions only for the red variant of a style. It is optional to add an exception reason.
- Click the 'Pencil' icon on your subtab to start editing
- Select one of the active exceptions from the exception dropdown
- Once you click on save it saves your entire subtab and the selected exception
- Click the pen icon to go into edit mode
- You can change the exception reason to something else from the dropdown at any time
- To remove an exception reason, choose the 'Select' option from the dropdown and save again
Working with care instructions per colour
To be able to work with care instructions per colour, you have to set that up in Admin. Read more about it here.
- After the admin setup the 'Per Color' button will appear when you are on a style
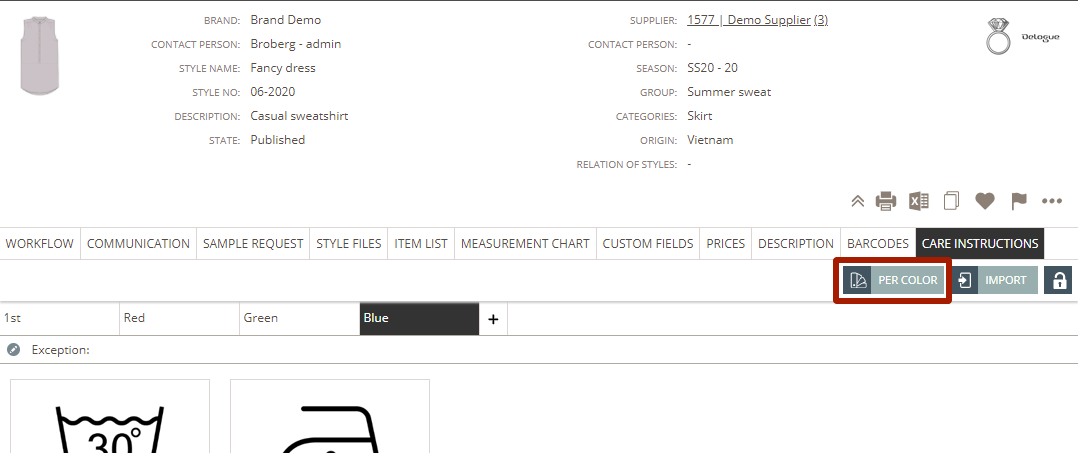
- Click 'Per Color'
- A pop-up window will appear
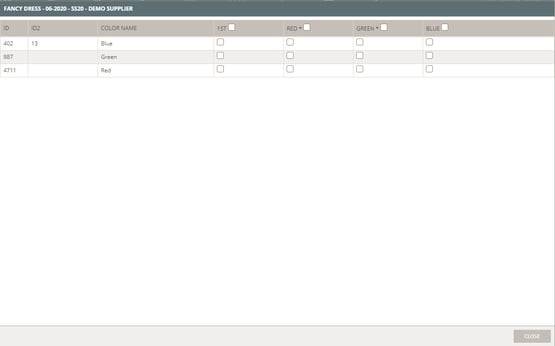
- Set a checkmark to indicate which care instruction subtab applies to which colour variant
- The subtabs marked with a * have an exception reason - you can see the name of the exception reason by doing a mouse over the name
- The setting is saved as soon as you set the checkmark (or remove it)
Let suppliers edit care instructions
You might want your suppliers to set up or edit the care instructions. When you start using Care Instructions, the default setting will be that suppliers are NOT allowed to edit Care Instructions.
As 'Company Admin', you can change that setting for your company in the Admin section under Care Instructions > Settings - read more about it here.
Set edit permission for suppliers on Style level
- No matter what default setting you have set up in the Admin section, you can always set something different on a single style.
- When it is locked, the supplier can NOT edit the care instructions.
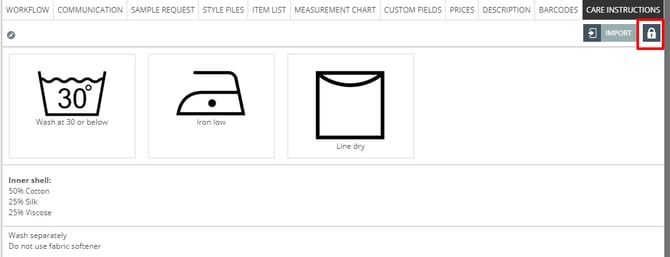
- When you click on the icon, it will become unlocked - now the supplier can edit the care instructions.
Video guide - care instructions on styles
Once you have set up your Care Instructions in Admin, you can add care instruction details to a style. In this video, you will learn how to:
 Next steps
Settings for Care Instructions in Admin
How the composition from the 'Main Item' is transferred to style Care Instruction
Work with the 'Main Tag' in your style item list