Introduction & best practice:
To be able to request samples of a style, you need to define the different sample types used by your company/brand. It could be, for example, 1st proto sample, 2nd proto sample, sales sample, etc. The order of the sample types should follow the flow of the sampling process that you have internally.
NOTE: You can drag and drop the order of your sample types.
In this article you can also find information about how to turn on/off notifications for each sample type.
Table of Contents
- Creating a Sample Type
- Deactivate a Sample Type
- Hide your inactivated Sample Types
- Delete a Sample Type
- Set up Notifications per Sample Type
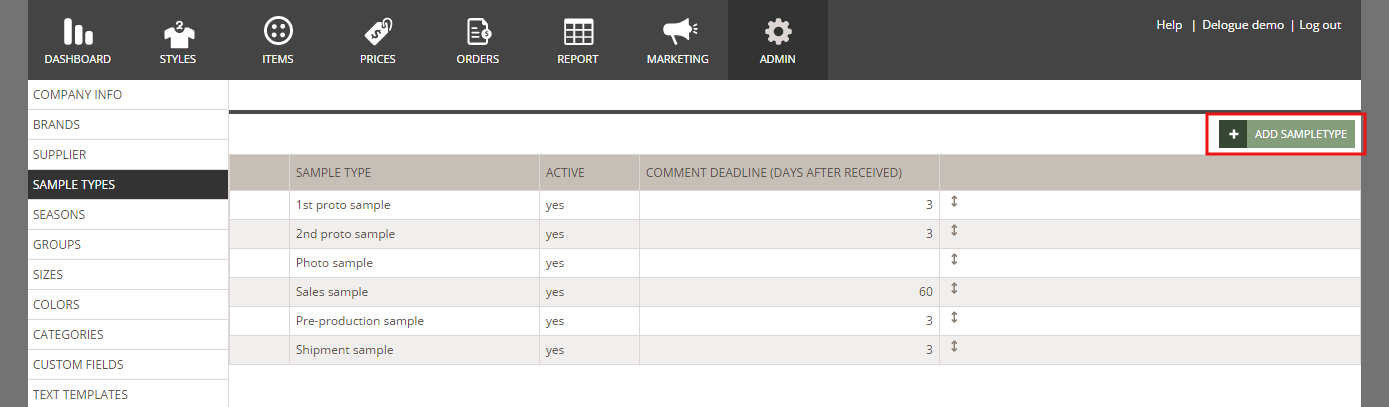
Creating a Sample Type
Navigate to: Admin > Sample Types
- Click the 'Add sample type' button to add a sample type
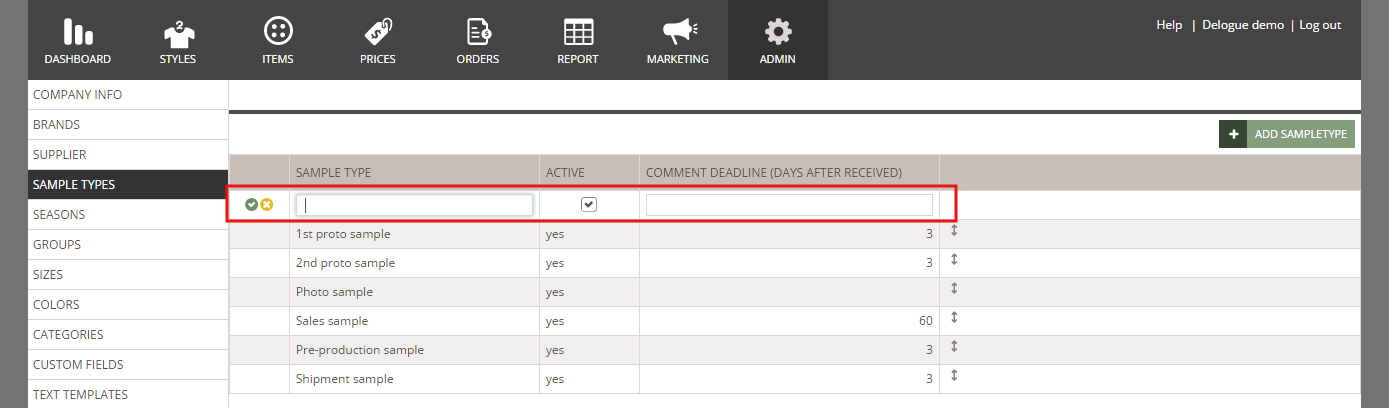
- In the new table row, type in the sample name and the comment deadline (amount of days after received)
- Click on the green 'save' icon to finish
Deactivate a Sample Type
You can deactivate a sample type so it will no longer be selectable when creating a sample request on Style level.
Navigate to: Admin > Sample Types
- Uncheck the option 'active' on the sample types table
- Click on the green 'save' icon to finish
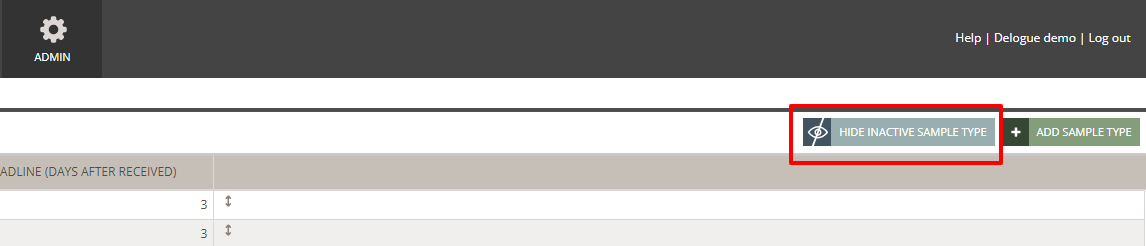
Hide Your Inactivated Sample Types
If you end up with many inactive sample types, it can make your overview unmanageable. To get a clean overview of active sample types, click on the 'Hide inactive sample types' button.
You can always click on the button once more to see all of your Sample Types again.
Delete a Sample Type
It is possible to delete Sample Types that have never been used.
- Hover on the Sample Type you want to delete
- Click on the 'delete' icon - you will get a warning if you are trying to delete a Sample Type that is in use or has been used before
Set up Notifications per Sample Type
In Admin > Sample Types, you can choose whether the system should send a notification email to the supplier contact when the status of a sample type is changed, when working from the Dashboard or the Style Sample Report.
Navigate to: Admin > Sample Types
- Click on the green 'Notify' button for each of the sample types, and toggle on/off on each of the sample statuses

Notify toggle on
- The supplier contact is notified by email, as well as with the 'Sample Comment Icon' inside Delogue - read more about 'Sample Comment Icons' here
NOTE: 'Cancelled' - the system does not send an email notification even though the setting is toggled on, therefore, it is important to send a message to your supplier when cancelling a sample request through the Dashboard or Report
Example of email notification:

Notify toggle off
- The supplier contact is notified with the 'Sample Comment Icon' inside Delogue, but not with an email notification. Read more about 'Sample Comment Icons' here
Example of notification inside Delogue:

Best practice
To minimize the load of email notifications your supplier contact receives when changing the sample status through the 'Style Sample Report' or the 'Dashboard', we recommend the settings from the example below.
Best practice example:

 Next Steps