USE DESCRIPTION WITH ARTWORK ADD-ON MODULE
This allows you to have extra descriptions of each style color. The system will create a grid for all style colors you have in a given style where you can add the information you need.
- How does it work
- Delete a description
- Add artwork files
- Print or Export
- Import a description
- How to create an Artwork matrix
- Edit your artwork matrix
- Delete an Artwork matrix
HOW DOES IT WORK
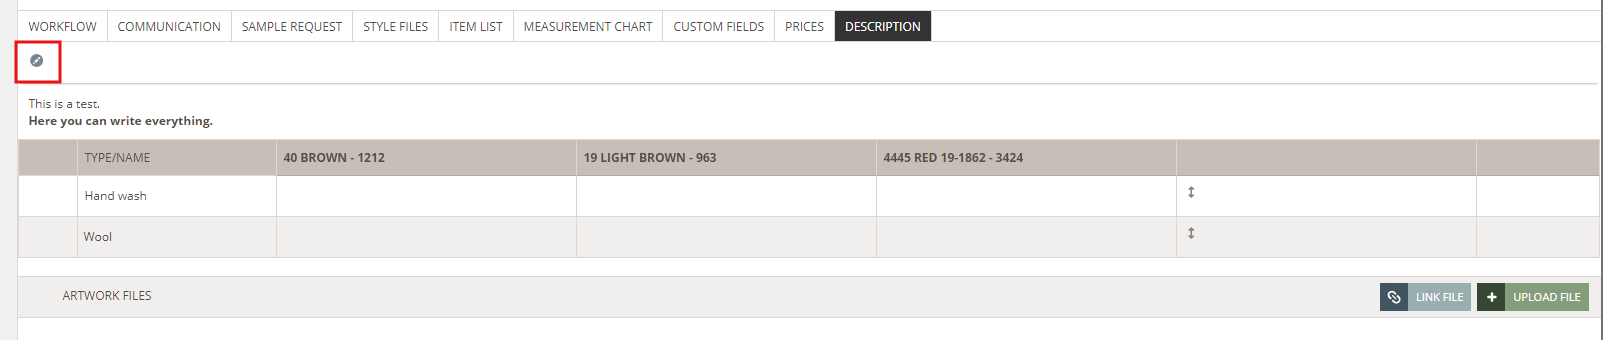
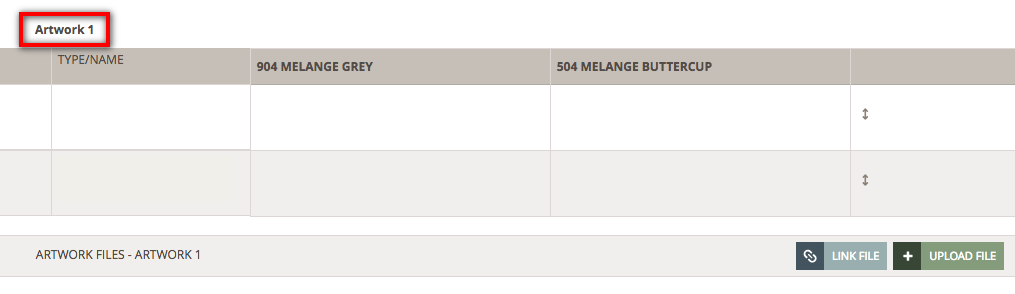
Once you acquire the module, the Description sub-tab will show the style colors matrix and the Artwork files of a given style.
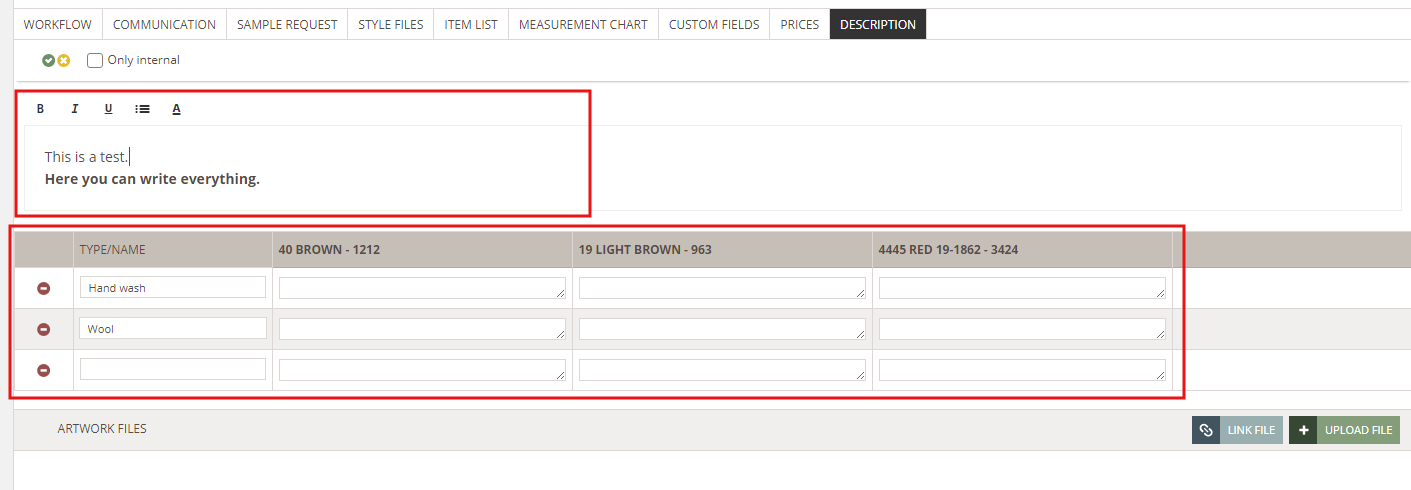
To add and/or edit information, simply click the blue edit icon. Type in as much as you need in the Description field - if in doubt, read more about how to use descriptions here.
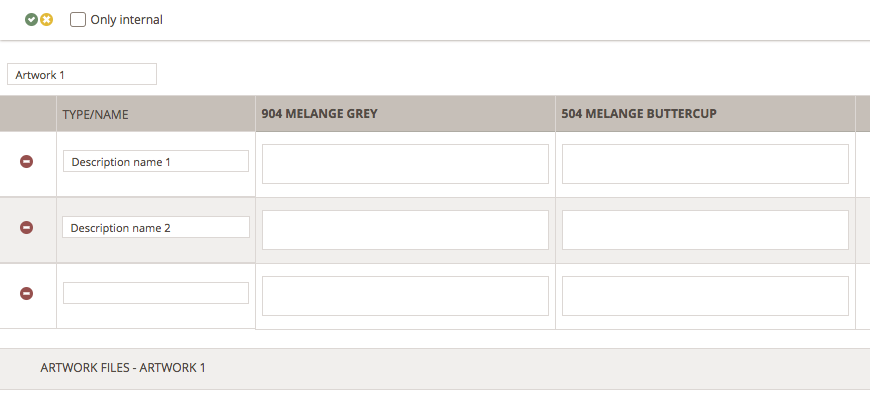
The color matrix will start empty so you can start typing right away - a new line is automatically created when you complete the first table row. In this case, we have added two new rows.
DELETE A DESCRIPTION
To erase description texts, simply delete them from the text editor and click the small green icon to save.
NOTE: It is important to delete lines when created by mistake - it will NOT be enough to just delete the text.
ADD ARTWORK FILES
You can also add Artwork files under the Description or Style Files sub-tabs - they will automatically appear in both places. Uploading or linking Artwork Files is the same as in Style Files - read all about it here.
Printing and exporting descriptions with artwork
Print and export all your descriptions with artwork by enabling this option when printing and/or exporting a style.
NOTE: Artwork files will NOT be printed/exported - if you need those make sure you print/export the Style Files.
IMPORT A DESCRIPTION FROM OTHER STYLE
It is possible to import descriptions from other styles so you don't have to type things twice.
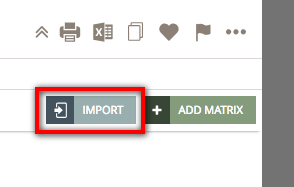
Click the "Import" button and a pop-up window will appear where you can search for a style and have a preview of the description content - pretty much like importing a measurement chart.
Find your style - you can search by style name or number - select it and click "Import".
You will get the following message: “Are you sure? You are about to import this into your style it will overwrite all Description data. This can not be undone!". Simply click OK to proceed.
CREATE A DESCRIPTION ARTWORK MATRIX
Create different matrices for your descriptions with the "Add matrix" feature. For example, if you have a style with both a print and embroidery, you can now make a matrix specifying the details for each technique. The same applies to materials, colors, shapes, etc.
Simply click the "Add matrix" button and add as many rows as you want.

Per default, the matrix will be named "Artwork 1" but you can easily change this by double-clicking on the text. When creating a matrix, you will also have the option to upload files.
 EDIT A DESCRIPTION ARTWORK MATRIX
To edit your matrix, simply double-click on the artwork name or on the table rows. They will open in edit mode and here you can make all your changes. When you're done, click the small green icon to save your changes.
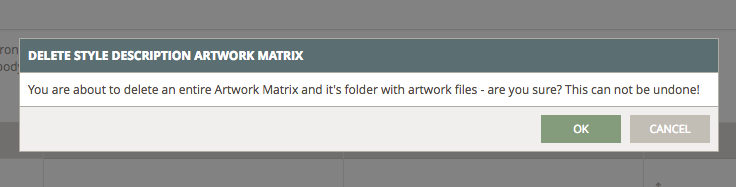
All artwork matrices can be deleted. You will see the red delete icon when mouseover on the artwork matrix. Click the icon and then "OK" to complete the action.