(Please notice that this is NOT a synchronization function)
You will also find Communication files here, both internal and external files.
Table of contents
- The Style files sub-tab
- How to create a folder
- How to upload files to a folders
- How to view your files
- How to download a file
- How to use Linked Files
- Inactive vs. Delete
- Reorder style files inside a folder
THE STYLE FILES SUB-TAB
Your style files are gathered in pre-defined folders, in order to structure and organize all your documentation. These folders are:
1) Styles files
It contains all your style files which your suppliers will also have access to.
2) Communication files
It contains files that have been attached to any kind of communication. You can choose to upload extra files and all the content is visible to your suppliers.
NOTE: There will be no files from sample request communication.
3) Internal files
Here you will see all the files you have attached to any Internal communication. You can also choose to upload and keep other important internal files here.
NOTE: Your suppliers cannot see these files.
Default Folders
If you are using Default Folders these will be placed after Style files. Read here how to set it up.
Once these are created on your style they are so to speak independent of your set up in Admin.
This means that you can delete any folders that you do not need on a specific Style.
ADDING A NEW FOLDER
The great thing about style files folders is that you can create new folders and easily organize the content in a way that fits your company the best. All newly created folders are visible for all your colleges and suppliers.
To add a new folder:
1) Click the 'Add Folder' button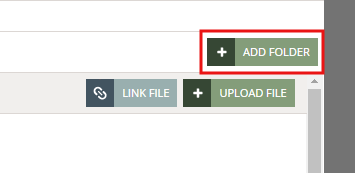
2) In the pop-up window, type in the name of the new folder and click ok to save.
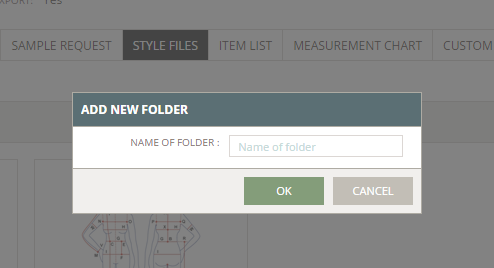
NOTE: New folders will be shown below the pre-defined folders.
EDITING A FOLDER
You can always change the name of your style files folders, but it is not possible to delete or rename the Internal Files and Communication files folders.
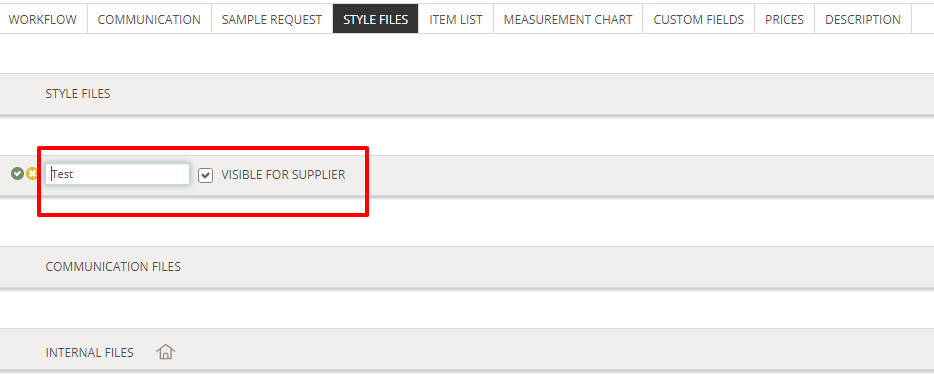
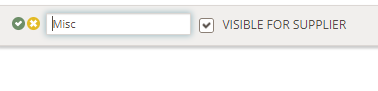
To edit a style files folder, mouse over the folder name and click the blue edit icon - or double-click on the folder name. When in edit mode, type in the new name and click the green small icon to save your changes.
You can also change if the folder is visible for Suppliers or not.
The same process applies when you need to delete a folder.
First, empty the folder and then mouse over on the folder name to display the delete button. Click on it and the system will ask you to verify this action.
UPLOAD FILES TO YOUR FOLDERS
After creating a folder, it is time to upload files:
1) Choose the folder you want to upload files into and click the 'Upload file button'.
In this case, we will upload a file to the 'Style Files' folder.

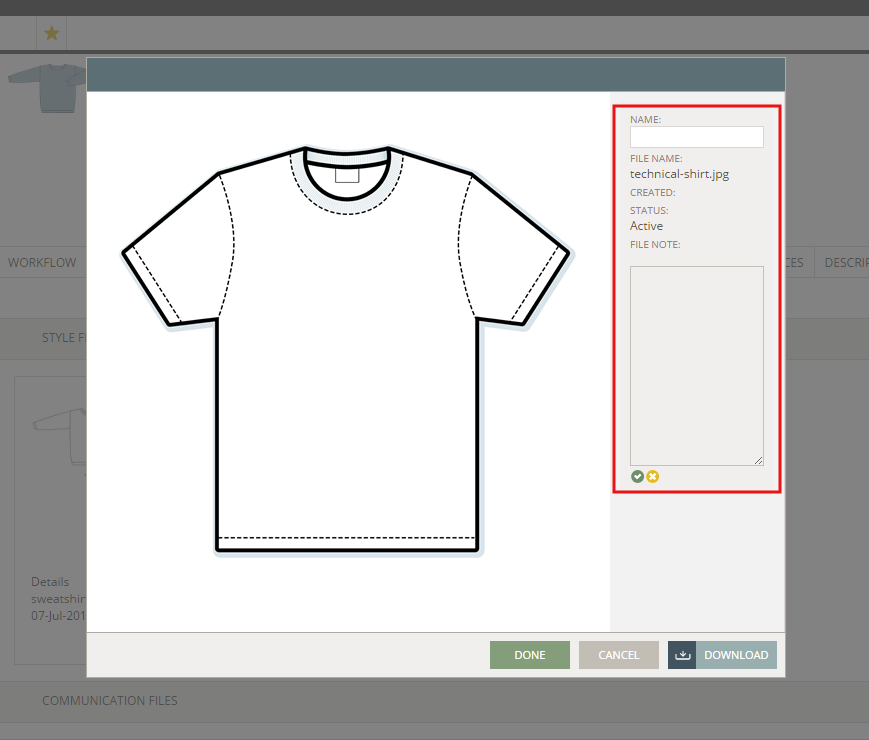
2) Select a file from your computer and type in its name in the pop-up window. You can also add a note to your file (optional) under the field 'File Note'. Once you are done, click the small green button to upload the file.
WHAT FILE TYPES CAN I UPLOAD IN DELOGUE PLM?
You can upload all file formats but only images (png, jpg) and PDF documents will generate a preview and appear when printing or exporting to Excel.
NOTE: Only the preview of the first page of the PDF will be shown. Download the entire PDF for a full overview of all pages.
VIEW YOUR FILES
Once you have uploaded files, you might need to view them in detail.
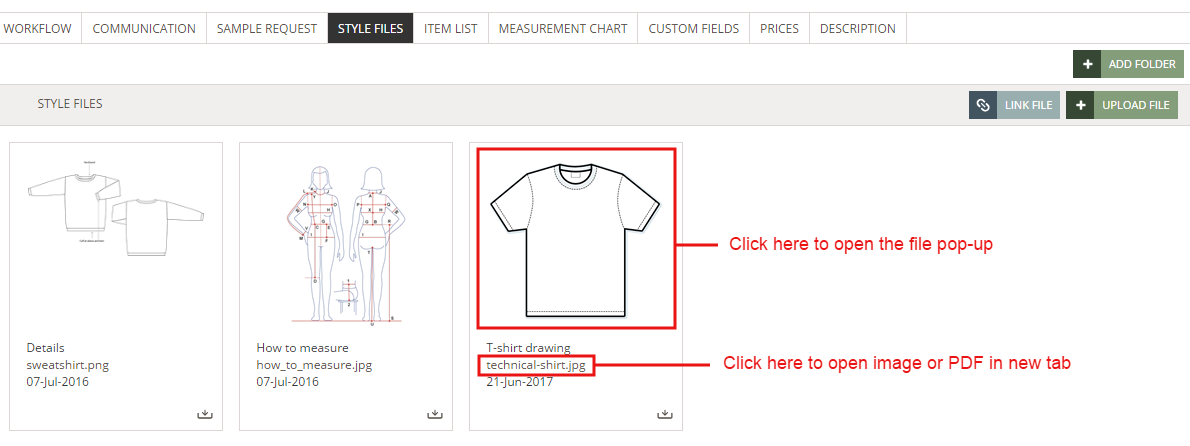
Click on the file/image to open the file - or click on the file name
Any image or .pdf will be opened in a new window or tab depending on your browser settings.
NOTE: Word documents, Excel or Illustrator files can not be previewed or opened in the browser - you will have to download them directly.
DOWNLOAD A FILE
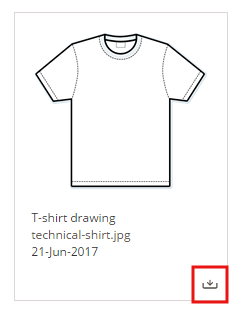
When overviewing your style files, you can also download them. There are two ways to do it:
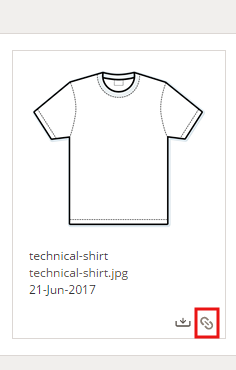
1) On the Style files sub-tab, click on the download icon on the bottom right corner of the file thumbnail
2) The other way, it's through the style file pop-up window.
Click the download button and you can now save the file on your own computer.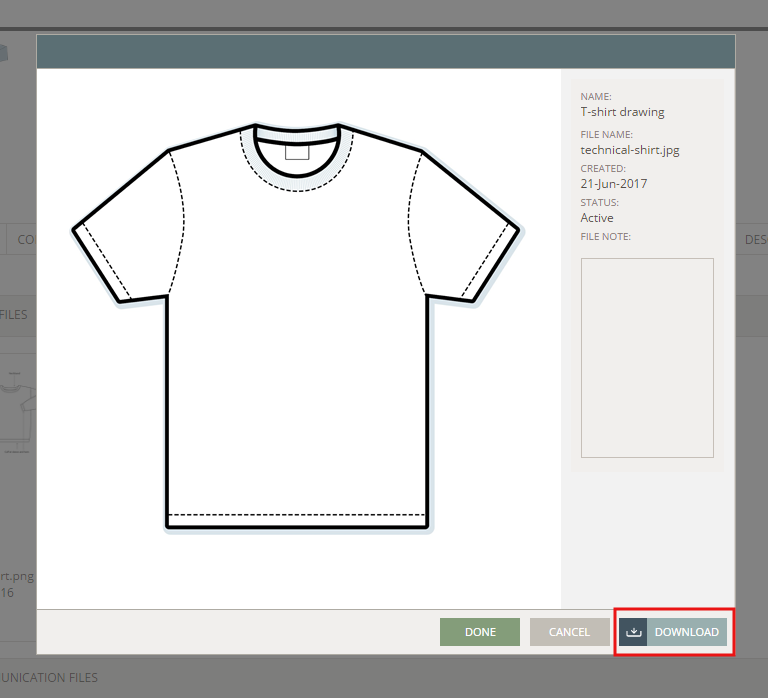
HOW TO USE LINK FILES
It can be very useful to link files if you will be using them for multiple styles. You will save time by not uploading files to every single style where they are needed.
The files used in Linked files will be accessible to all design users and can be linked to any style in Delogue PLM.
Please notice:
Your Suppliers cannot upload files in the "Link Files" folder.
Also notice:
This is not a synchronization feature!
CREATE A FOLDER STRUCTURE
The first time you open the Link Files folder, you will see an empty folder structure. This way, you can create a structure that suits your company the best. It is not mandatory to create folders, you can just upload files. But, we strongly recommend you take the time to set up a folder structure. It will be so much easier for you and your colleagues to navigate through our files.
1) Click the 'Link file' button (next to the 'Upload file' button) and a pop-up window will appear

2) You can now start to build your folder structure and even have folders placed inside folders - continue reading for more info.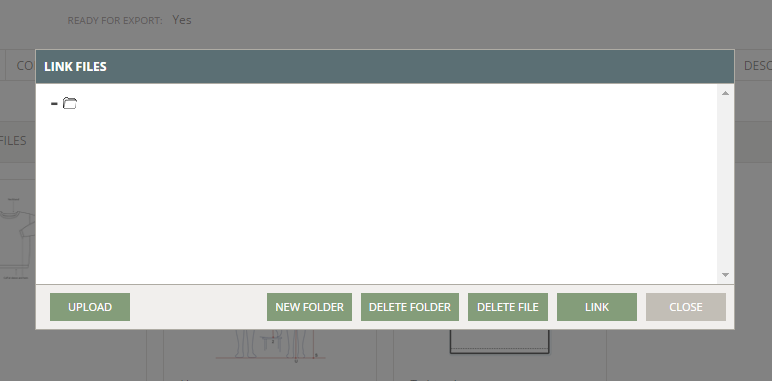
UPLOAD FILES TO LINK FILES
In the pop-up window shown above, click the 'Upload' button and select the file you want to upload to 'Link files'. The file will be saved with the same name you had saved on your computer.
Notice:
If you have created several folders, it is very important that you have selected the folder you want to upload a file into. It will not be possible to move it afterwards. In that, case you have to delete the file and re-upload it into the right folder.
LINK A FILE TO A STYLE
When linking files to a style, make sure you are in the right style. After that, on the Style files sub-tab:
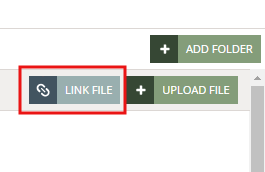
1) Choose a folder and click on 'Link File' button
NOTE: It is not possible to use the Link feature in the Communication files folder.
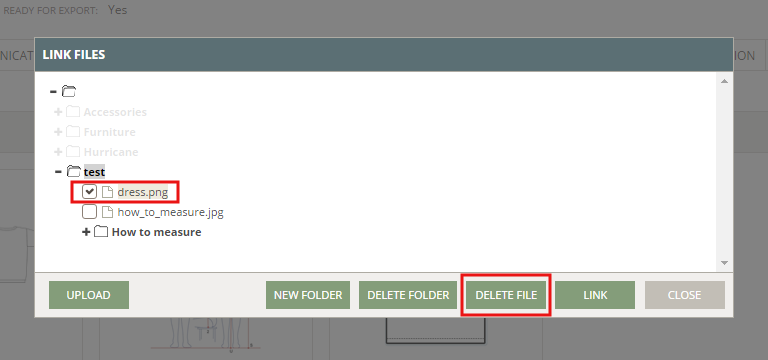
2) In the pop-up window, select the file(s) you want to link to your Style by check-marking them - you can link up to 10 files in one go. In this case, we will be linking one file, the 'dress.png', under the test folder.
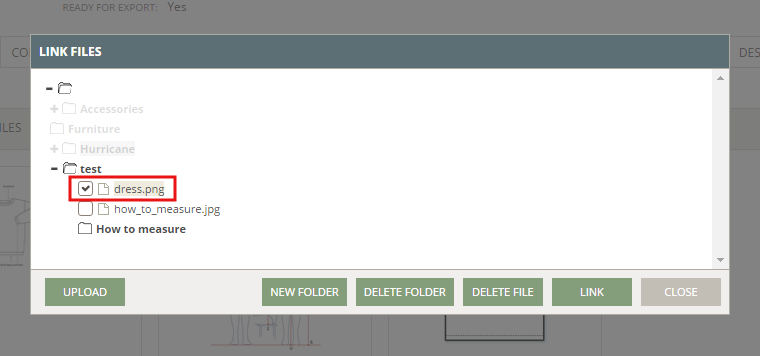
3) Click the 'Link' button to link the file. You will now see a link icon displayed on the file thumbnail.
 HOW TO REMOVE A LINK
When you don't need a certain linked file on a style or you simply want to remove it:
1) Just mouse hoover over the thumbnail card with the file and click on the tiny "Delete" icon

2) Confirm on the pop-up that you want to delete it.
NOTE: It is only removed from the style - it is still in your linked files and can still be used on other styles.
DELETE FILES AND FOLDERS IN YOUR LINKED FILES
You can always delete a file in the 'Link files' pop-up window. Simply select the file in question by check-marking it and click the 'Delete File' button to confirm you want to delete the file.
NOTE: If you delete a file, it will affect all the styles linked to this file. On these styles, you will now see "Style Visual missing" displayed.
So please be careful when you delete Linked files.
INACTIVE VS. DELETE
You can make your style files inactive or delete them if they are no longer needed or relevant to your collection.
MAKE A FILE INACTIVE
When a file is set as inactive, it will still appear in the list but it won't be possible to print or export it to Excel. You can, later on, decide to make a file active again. To make a file inactive, open the file pop-up and click on the checkbox under the 'Status' field.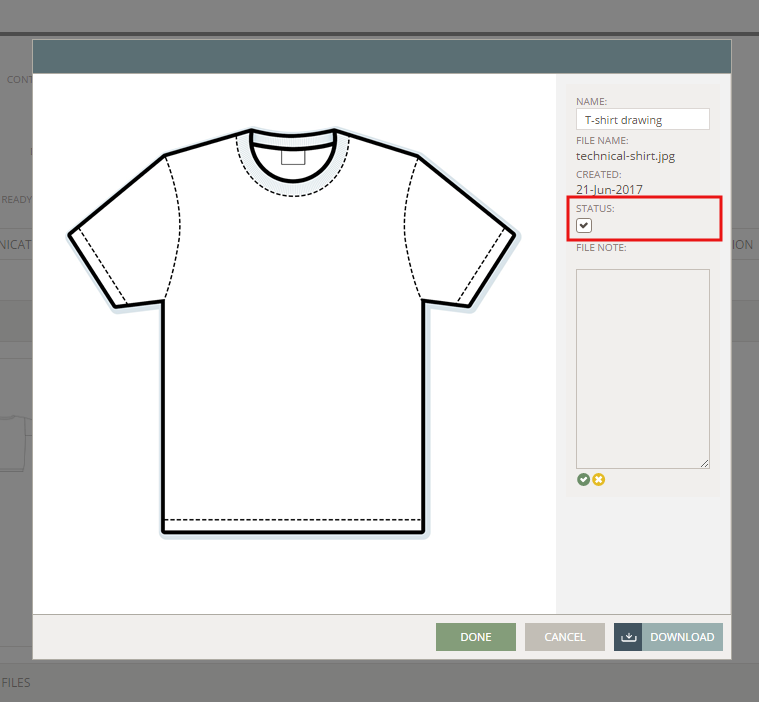
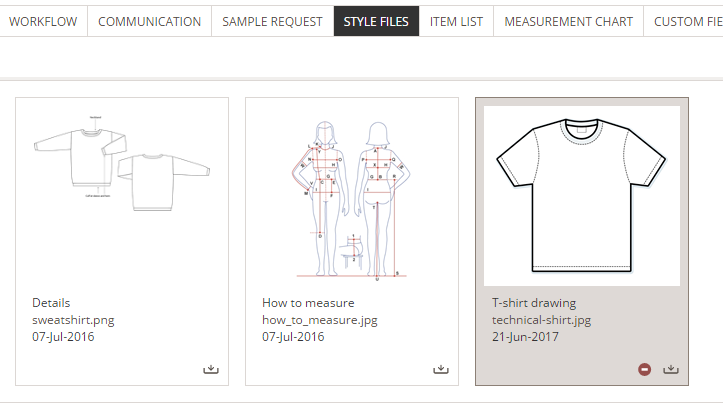
All inactive files will get a beige background and a banner with the text "Inactive", so it will be easier to recognize active and inactive files.

Remember:
You can hide all inactive files by clicking on the button "Hide Inactive"
DELETE A FILE
To delete a file, simply make a mouse over the file in question and click on the delete icon. You can also do it through the file pop-up window.
Please notice:
When deleting a file, it will be permanently deleted. But, if you delete a Linked File, you will only remove the link. The file will still be in your linked folder and available to be used for all other styles.
REORDER STYLE FILES
It is also possible to reorder Style files within the same folder – just like you can in Item Artwork .
Click the drag-and-drop icon at the bottom left corner of the thumbnail and drag the file to the position you want. The new order of the files will be seen in print and Excel export too.