Introduction & best practice
In Delogue, a Workflow is a group of tasks that, when predefined by a company admin, makes it easy to set up the process for each style. Each task is assigned a time offset (in days), allowing the system to calculate deadlines based on the final due date on Style level or as specified on a certificate. This setup ensures that workflows can be reused season after season.
Table of contents
- Before you start
- Create workflows for styles and certificates
- Adding tasks to workflows
- Edit workflow or tasks
- Filter in columns
- Delete workflow or tasks
Before you start
1) Make sure the 'Company Admin' role is assigned to you as a user; otherwise, it will NOT be possible to see this section. To learn more about assigning different roles to a user, click here.
Creating workflows for styles and certificates
When creating workflows and tasks, think of them as templates.
It's a good idea to specify each task and write common terms that you and your team members will easily understand. For example, in this case, we named our two workflows as 'Development' and 'Prices & Integration'. The steps described below apply equally to both styles as well as certificates that are used in the Compliance module in Delogue.

Step-by-step
Navigate to: Admin > Workflow
- Choose header 'Styles' - to create workflows that will be available to choose on styles
- Choose header 'Certificates' - to create workflows that will be available to choose on certificates in the Compliance module
- Click on 'Add workflow' to create your first workflow

- Give your workflow a name and
- Select a colour for a more visual overview
- Once you're done, click on the green 'save' icon
- You can create as many workflows as needed
Adding tasks to the workflow
After creating a workflow, it is time to add tasks to it. You can create as many tasks as needed in each workflow, according to your company's needs.
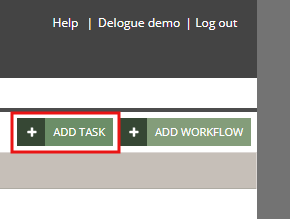
- Start by selecting the workflow you want to add a task to
- Click the 'Add Task' button
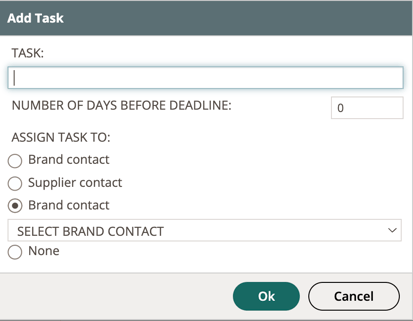
In the pop-up window:
- Give your task a name
- Set a deadline for this task to be done
NOTE: This is not the final date - it's simply a number of days before any given deadline. The system will - once you have added a workflow and its tasks to a style - automatically calculate the correct date.
- Assign the task to:
- Brand contact (of the style)
- Supplier contact (of the style)
- Brand person (selection)
- None
- Click 'OK' to finish
Edit a workflow and/or tasks
If, for instance, you need to change a workflow or task name, follow these steps:
Navigate to: Admin > Workflow
- Mouse over the workflow or task name or double-click on it
- When in edit mode, type in the new name
- Click the green icon to save your changes
For tasks, it is possible to edit everything - a pop-up will appear where you can change the name, the number of days before the deadline, and who it should be assigned to.
Filter in columns
Once tasks are added to a workflow, you can make a filter for each column, so you can change the order of the list of tasks.
Navigate to: Admin > Workflow
- Mouse over a column name
- Click on the 'menu' icon
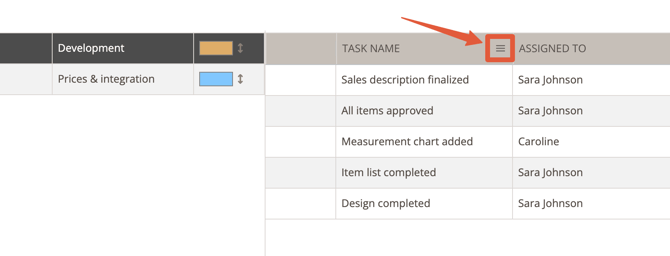
- Make the filter by selecting data from a list or typing in data
- Finish by clicking on the 'Apply' button

Delete workflows or tasks
When deleting a workflow, all its tasks in the Admin section will be removed, and the workflow name will also be deleted from any styles that it has been added to. However, the tasks of the workflow will remain on the styles.
When deleting a task, it will be removed from the workflow in the Admin section. But it will still be on all the styles where you added the workflow.
Navigate to: Admin > Workflow
- Mouse over the workflow or task
- Click on the 'delete' icon
- Confirm your actions in the confirmation pop-up
![]()