Introduction & Best practice
The style sample report will be your Go-To report when you need to track your sample requests. The report can be customized to fit your work processes. You can easily find all sample requests from a specific season, track on the delivery or overview the approval.
You are also able to make bulk updates to your sample requests through the report, making your work more efficient.
In this article we will guide you to how to create your Style Sample Reports.
Table of Content
Creating your very first Style Sample Report
The first time you enter the Style Sample Report area, the page will be empty.
To get started - simply click on the big "+" icon to start creating your report.
.png?width=670&height=293&name=Sk%C3%A6rmbillede%202025-01-31%20kl.%2010.04.50%20(1).png)
Supplier users are also able to create Style Sample Reports.
They will only be able to see data on the Sample Requests of style where they are the nominated supplier. And they will only be able to setup filters on Custom fields they are allowed to view.
Setting up your report filter
The default filter pop-up will look like this:
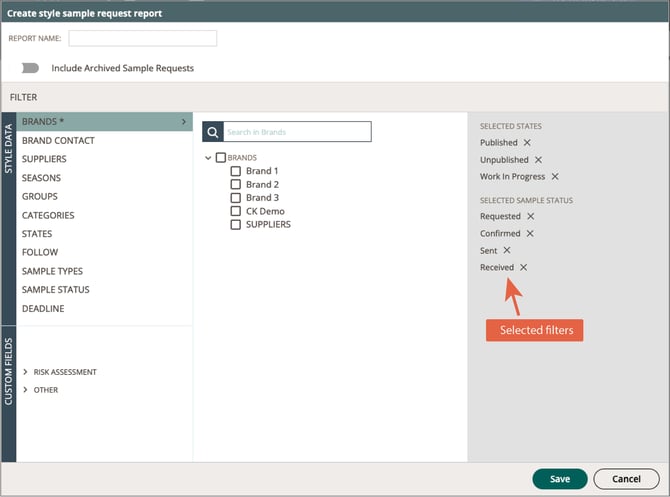
Step-by-Step
1. Give your report a name.
2. Choose if you want to include Archived Samples in your Report.
3. Setup your filter of style data including mandatory fields such as 'Brand'
E.g. Select any specific sample type or a specific style season.
You can make selections on almost all types of Style data and all Custom Fields.
INFO: If nothing is selected, then everything is shown.
This means that if you do not select e.g. any style season, then all samples of all seasons will be shown.
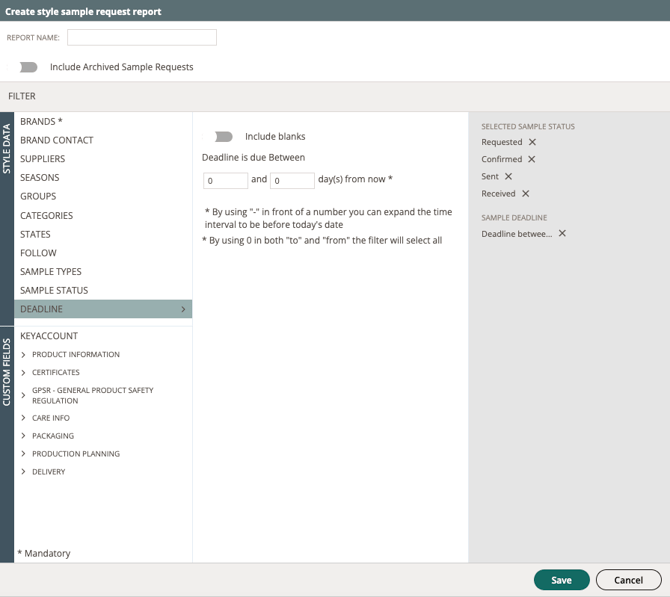
4. Setup your filter of Style custom field (Optional)
NOTE: In case you use Dividers in your Custom Fields, these will appear in your pop-up and you can use them to expand or collapse any Custom Field section.
.png?width=670&height=596&name=Sk%C3%A6rmbillede%202025-01-31%20kl.%2010.32.54%20(1).png)
NOTE: For some data options, you can choose to filter on 'blank'. This will help you to find styles where you need to add data.
Just slide the 'Include Blanks' to it's green and that option will be included.
Using the Deadline option
When you work with the sample request, the option to filter on deadline can come in handy.
When using the deadline as filter, simply add the period with the due date of the deadlines.
- Deadline is duen between X and Y days from now
Simply put a "-" in front of the first number and you will go back in time.
You can also include blank deadlines, if you are working with 'Planned' sample requests.
INFO: If you want to show all samples within a specific season, you should leave the deadline option empty, by writing '0' in both days-fields and then add the season as a filter instead.
Saving your Favorite report filter
When you have setup the filter, you simply click on 'Save' to generator the report and the filter settings will be saved as a Favorite in your report sub-tab.
The report will display default columns, which are:
- Style logo
- Style name
- Style number
- Sample type
- Status - that is the sample status
- Quantity
- Deadline
- ETD
NOTE: If you want to add more columns or change the order of the column, you can learn more here: Add more columns to your report
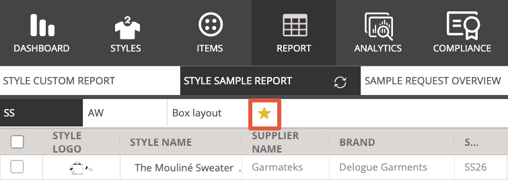
Creating your next Style Sample Report
When you want to create your next Style Sample Report, simply click on the little star icon.
The steps are the same as when you created your first report.
Copy a Style Sample Report
If you already created the perfect report - you can copy it and reuse it in a new report.
1. Mouseover on the saved favorite you want to take a copy of.
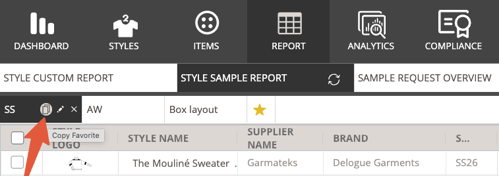
2. Click on the tiny 'Copy' icon.
Now you get the filter setup pop-up and you can give the copy a new name or change your data set.
In case you had added any extra columns these will also be in the copy you make.
Next steps
