The Marketing module
WHAT IS THE MARKETING MODULE
With this module, you can manage all your marketing texts for each style.
In the Admin tab, there is a tab called 'Marketing'. Here, you can create new columns and decide which data fields should be visible.
NOTE: The Marketing Module is no longer supported.
- Marketing Role
- Add languages
- The Marketing tab in Admin
- Marketing texts
- Add extra marketing columns
- Select data fields for marketing matrix
- Marketing favorites
ASSIGN MARKETING USER ROLE
In order to give users access to the module, it is necessary to set it up first in the Admin section.
Choose 'Company info' from the left side menu and:
1) Mouseover on the user you want to assign the Marketing role - or double-click on the table row

2) In the 'Roles' column, use the drop-down menu to select 'Marketing' as a role
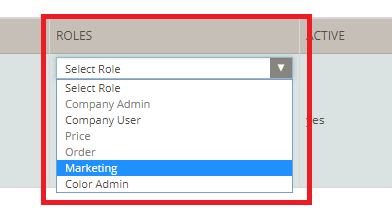
3) Click the small green icon to save your changes

ADDING LANGUAGES
Once you have the Marketing module activated, it is time to add all the different languages of your marketing texts. In the Admin section, choose 'General Settings' from the left side menu and click 'Languages' on the top.
Read all about how to add languages here
USING THE MARKETING TAB
The Marketing tab in the Admin section consists of two sub-tabs called 'Marketing Text' and 'Delogue Data' - continue reading to see what you can do in each tab.
MARKETING TEXT FIELDS
In the 'Marketing Text' tab, you can create a table of your marketing text fields. These fields consist of marketing text columns and mouseover text - the mouseover text will work as a guide so you keep track of all the different marketing texts you have to include in your webshop, catalogs, etc.
ADDING A MARKETING TEXT COLUMN To add a marketing field:
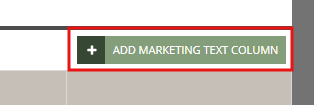
1) Click the 'Add Marketing Text Column' button
2) In the new row, define a name for your marketing text column and mouseover text.
In this case, we created two marketing text fields called 'Long description' and 'Short description'. On the mouseover text, we wrote the following support text: 'Detailed description of the product' and 'Small description of the product'.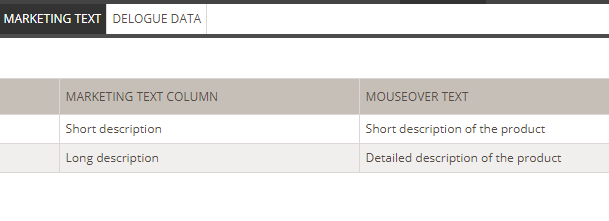
3) Add as many columns as you need and when you're done, click the small green icon to save.
In the Marketing section, you will see the mouseover text appearing when hovering the 'Long description' and 'Short description' columns.
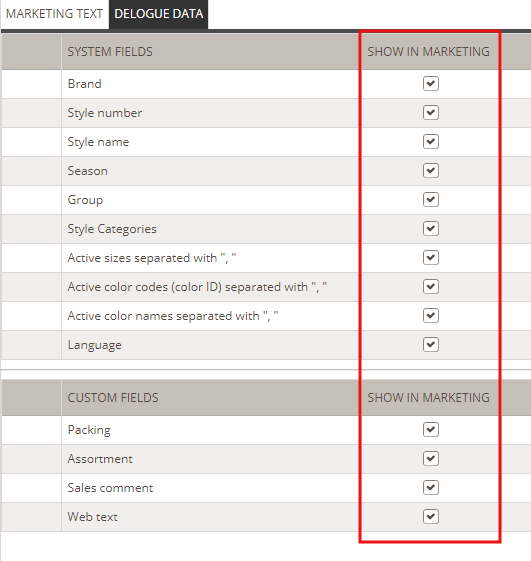
MAKE DELOGUE DATA FIELDS VISIBLE IN THE MARKETING MATRIXIn the 'Delogue data' tab, you decide which fields should be visible in your Marketing matrix. Simply select the fields that are relevant to you and the information is saved immediately.
Please notice:
When a checkbox is selected, the field will appear on the Marketing tab and only the 'Marketing Text' can be edited.
The following system fields will be visible for selection, as well as your Custom fields:
- Brand
- Style number
- Style name
- Season
- Group
- Style Categories
- Measurement chart:) Active sizes are separated with ", "
- (Item List:) Active color codes (color ID) separated with ", "
- (Item List:) Active color names separated with ", "
- Language
CREATE MARKETING FAVORITE FILTERS
Setting up your favorite filter in Marketing is as easy as creating one in the Styles section.
In the Marketing section:
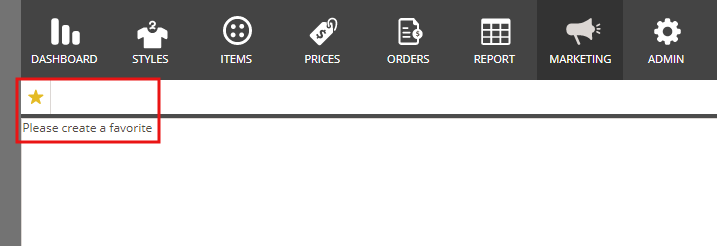
1) Click the star icon to add a filter
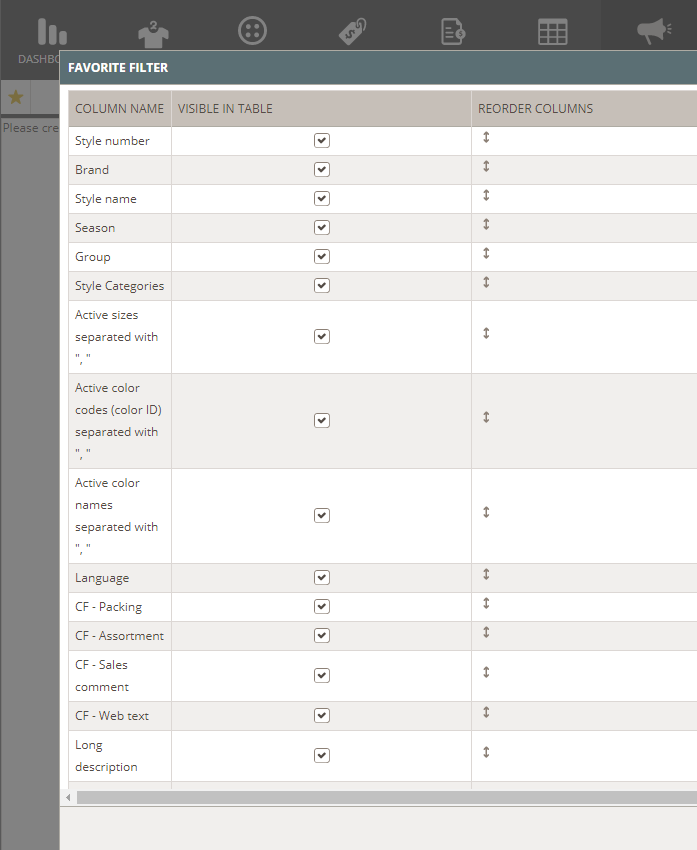
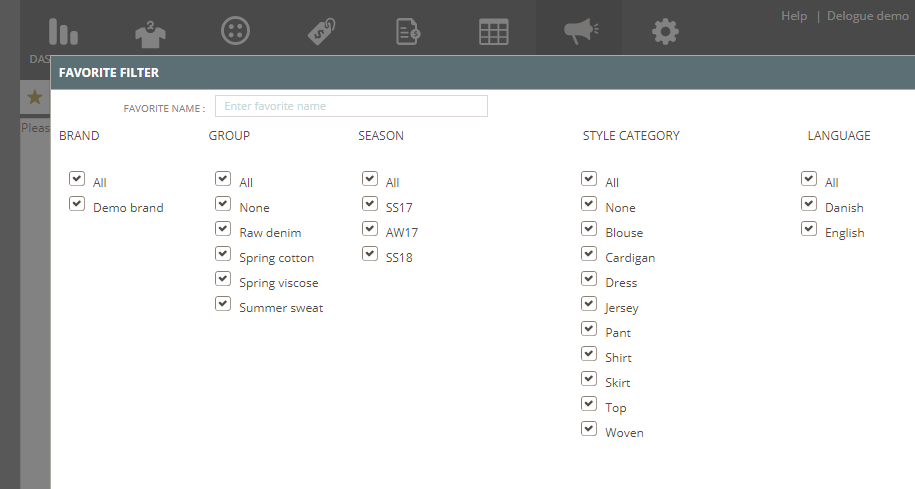
2) In the pop-up window, name your filter and select the fields you want to see in the Marketing matrix - per default, all filters are selected. Click NEXT to continue.
3) Now simply drag and drop the rows to reorder and adjust the columns as you like, or in a way that makes sense to your team and your workflow.
Once you are done, your Marketing matrix will be ready. Each row is editable but you can only edit the content of the Marketing Text field.
