Introduction & best practice
Sample requests are the brand's request for a sample for approval/confirmation. It can be everything from the 1st prototype sample to the final production or shipment samples. In this article, you will learn more about how you can work with the samples requested by the brands.
Table of contents
- The style sample request subtab
- Follow sample requests through the dashboard
- Follow and update sample requests through reports
Sample request states in Delogue PLM
Listed are all the different sample request states in Delogue:
| Icon | State | Description | Action made by |
|
Planned | Sample is not requested yet. Planned is used to inform supplier and book capacity. |
Company |
|
Requested | Sample is requested to be made. | Company |
|
Confirmed | Supplier has confirmed the request. He can also fill in the expected delivery date. |
Supplier |
|
Sent | Sample has been sent by the supplier. | Supplier |
|
Received | Sample has been received by brand. | Company |
|
Commented | Sample has been commented by brand. | Company |
|
Cancelled | Sample is no longer requested. You can reactivate a canceled request. |
Company |
How to confirm your samples
Once a sample has been requested by the brand, you are able to confirm that you have received the request by changing the state from 'Requested' to 'Confirmed'. You can also fill in an ETD of when you expect to send the sample.
- Click on the 'Sample Request' subtab
- Double click on the sample request to open it or click on the edit icon
- In the pop-up window, choose 'Sample status' from the left side menu
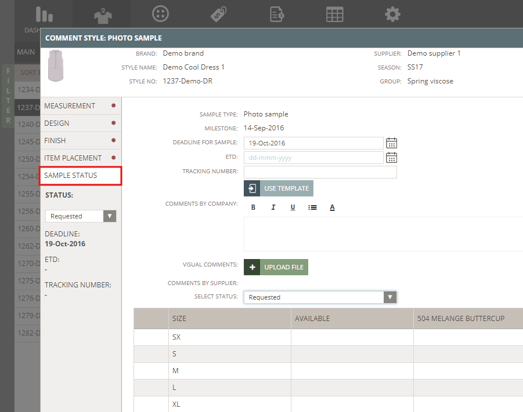
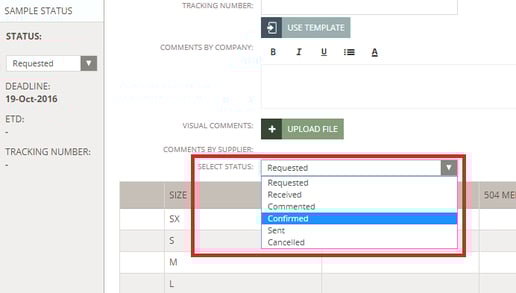
- Find the 'Select Status' field and choose 'Confirmed' from the drop-down menu.
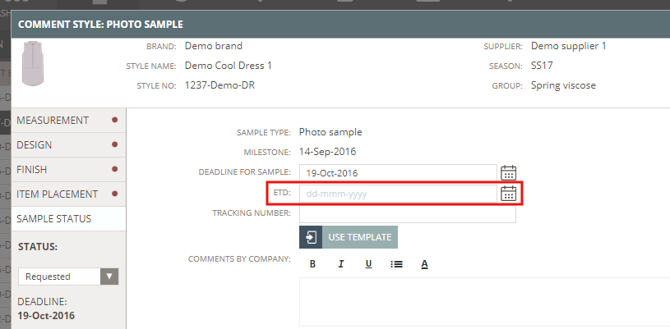
- Fill in ETD (this is optional) using the calendar icon
- Click 'Update' to save
- Select if you want to notify someone about this change by email - the brand contact person is selected by default, but can be removed
How to mark your sample as sent
Once the sample is ready to be sent out, you can mark it as 'Sent'. Make sure to add the measurements from the control measurement of the sample, and add any comments to the sample for each of the sample comment fields. We also recommend that you enter the tracking number of the parcel.
- Choose the specific style from the style list
- Click on the 'Sample Request' subtab
- Double click on the sample request to open it or click on the edit icon
- In the pop-up window, start by adding sample measures in the column 'Supp. meas.'
- Add relevant comments and visual comments for each of the comment fields in the sample request
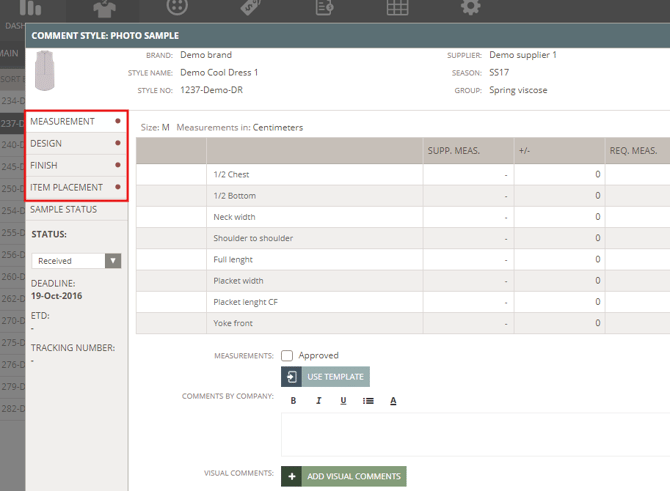
- For 'Item placement', you can also mark if the item is available or missing
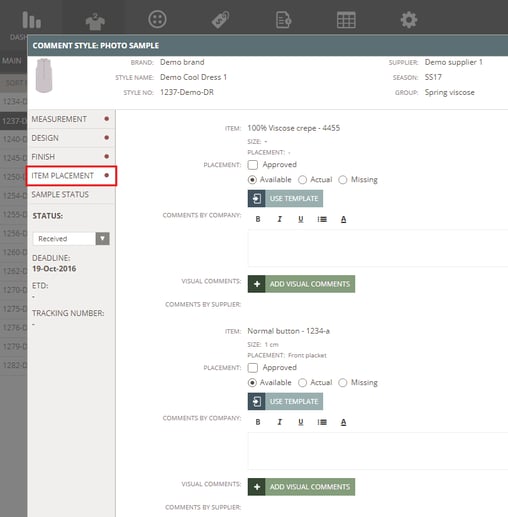
- Select the sample status subtab
- Add the tracking number
- Change the status to 'Sent'
- Click 'Update' to save
- Select if you want to notify someone about this change by email - the brand contact person is selected by default, but can be removed
![]()
How to download sample comments
Once the brand has received and commented on the sample request, they will change the state of the sample to 'Commented'. You will receive a notification by email. Follow the link in the email notification, which will open the style with the new comment. From here, you can download the comments as Excel or PDF.
PDF print/download
- Choose the specific style from the style list
- Find the 'print' icon on the right side of the style header
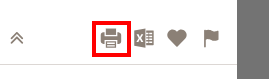
- In the pop-up window, select the sample specifications you want to print using the checkboxes
![]()
- A print preview will open
- Choose to print or save the preview as a PDF
Excel export/download
- Choose the specific style from the style list
- Find the 'Excel' icon on the right side of the style header
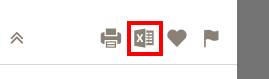
- In the pop-up window, select the sample specifications you want to export using the checkboxes
- Click 'Export' to finish - the Excel will be downloaded

NOTE: Comments will appear in a tab per sample request.
Video guide - view and update sample requests
Description
In this short video, you will learn how to view and update your sample requests from the style page.
- View sample deadline and quantity
- View and update measurements & comments
- Update the sample request
- Notify the brand contact
Follow sample requests through the dashboard
All styles where you are the contact person will appear on your dashboard - if there are any sample requests for the style. To learn more about working with the Dashboard section, please read the following article here.
Follow and update sample requests through reports
The Style Custom Report allows you to make a personalised overview of our samples. You can set up filters to limit the number of samples for each overview.
The Sample Request Overview is a detailed overview of all combinations of colour/size within each sample request. To learn more about working with the Report section, please read the following article here.