ITEM CATEGORIES OVERVIEW
By categorizing the items, you can easily search for different kinds of items in your library.
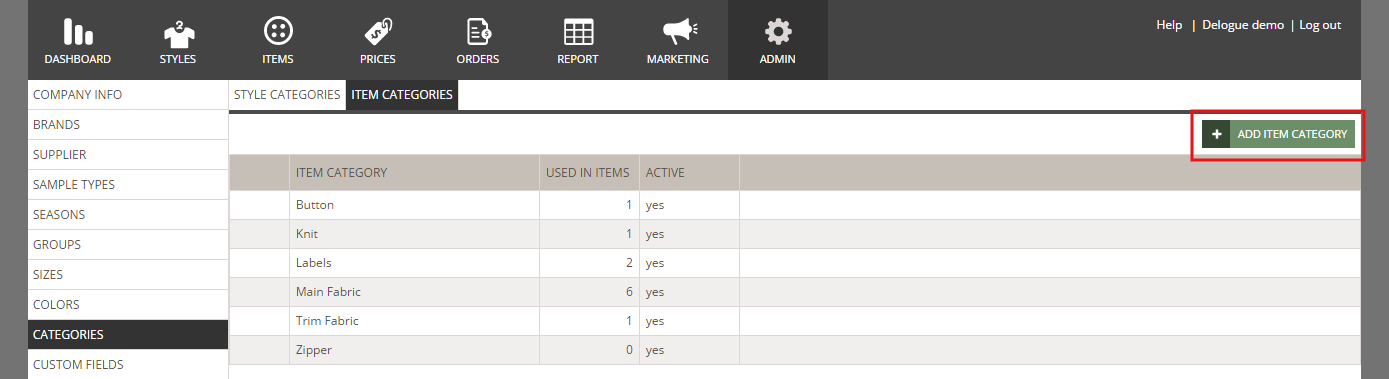
Go to Admin → Categories → select the "Item Categories" sub-tab
CREATING AN ITEM CATEGORY
1) Choose the sub-tab 'Item Categories' and click the 'Add Item Category' button
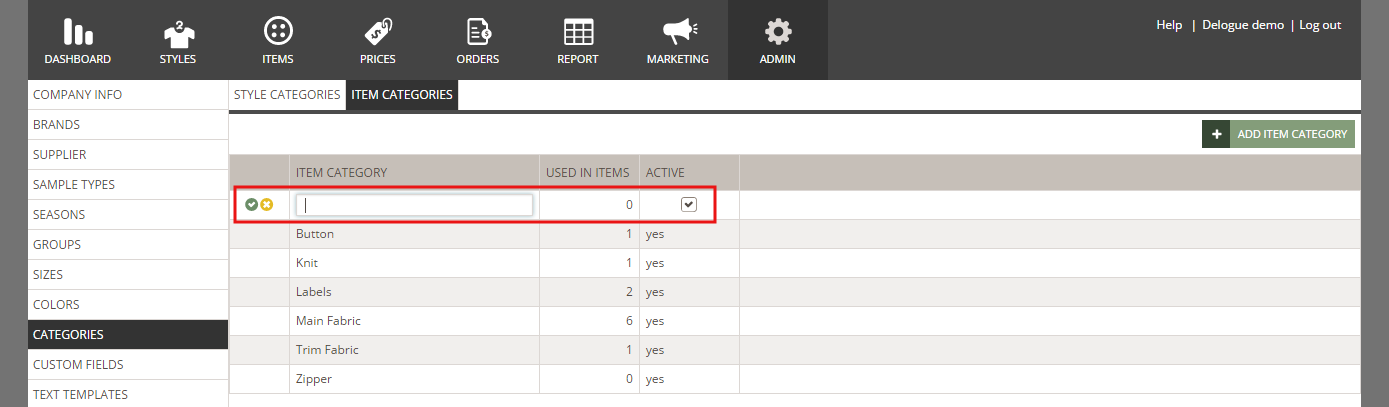
2) In the new table row, type in the category name and click the small green icon to save
RENAMING A CATEGORY
You can change the name of your categories whenever necessary. Simply mouse over the category name and click the blue edit icon - or double-click on the table row. When in edit mode, type in the new name and click the green small icon to save your changes.
DEACTIVATE A CATEGORYJust like in Groups and Sizes, you can deactivate an item category so it will no longer be selectable for items. The deactivation will not affect items already this item category.
To do so, select the category you want to deactivate and uncheck the option 'ACTIVE'.

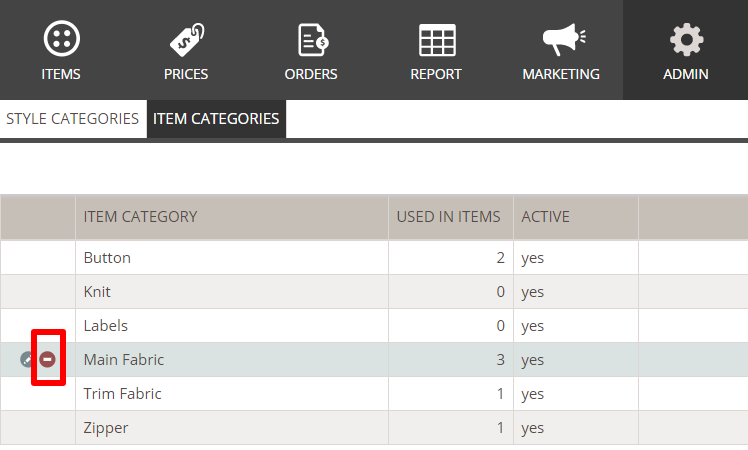
DELETE AN ITEM CATEGORY
If you are absolutely sure you will never need an Item Category ever again - you can choose to delete it.
- Mouse over on the category you want to delete.
- Click on the delete button
- Confirm that you want to delete the Category.
Please notice that if you delete a Category that is used on some Item - the Category will still be deleted and its value will be removed from those items.