NOTE: The Orders Module is no longer supported.
GET STARTED WITH THE ORDERS ADD-ON MODULE
Once you have activated the Orders add-on module, it's time to get you started with the following steps:
STEP 1: Module has to be activated for your account
Make sure your company has access to the Order module.
If any doubts write to us at support@delogue.com to check.
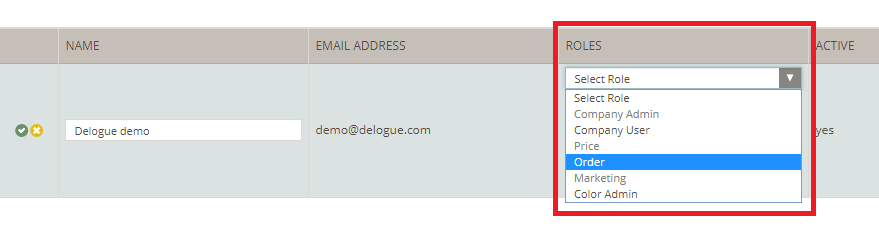
STEP 2: Give users access to the module
To give users access to the module, go to the Admin section and assign the needed users with the Order role.
STEP 3: Log out and log in again to my.delogue.com
Log out and log in again to activate the Orders section.
NOTE: Suppliers will also see the menu tab when the Order module is active at the customer account.
STEP 4: Add your first order
If you have not integrated Orders with your ERP system, then you can manually add orders in Delogue PLM.
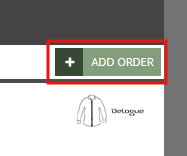
To create an order:
1) Click the 'Add order' button
2) In the new order header, start by filling out this information:
- Brand - select brand from the drop-down menu
- Purchase order number - make sure to write the purchase number from your ERP system
- Contact person - choose who should be the contact person for this order
- Reference - include it if your supplier has a reference
- Order date - the system will choose a date per default
- ETA
- Requested - select the order requested ETD
- Actual ETD - select the actual ETD when it is known
- Supplier and Supplier contact person - select from the drop-down menu
- Season - select from the drop-down menu
- Terms of delivery and Terms of payment - select from the drop-down menu
- Status - unpublished is set as default, change the state to 'Published' when you need your supplier to see the order
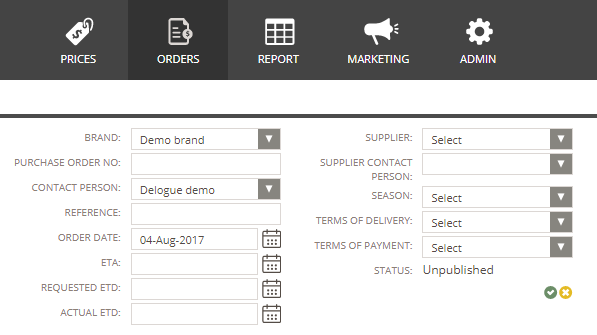
3) Click the small green icon to save your order
SEND MESSAGES ABOUT AN ORDER
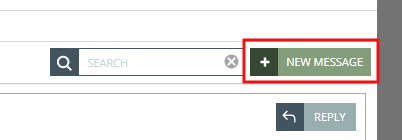
You can communicate with your supplier(s) about specific orders using the Communication tab in the Orders section.
1) Click the 'New message' button
2) Write your message, give it a subject, and choose if it should be internal or not. You can also notify your colleagues or supplier about this message. If necessary, attach files to your message using the 'Attach file' button.
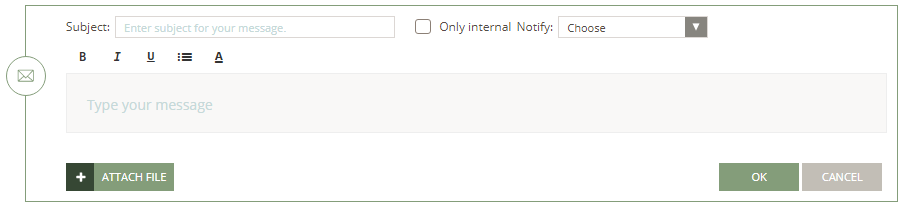
3) When you're done, click OK to send the message.
ORDERS LOG CHANGES
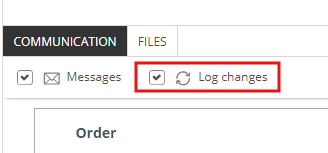
Like in the Styles section, all the changes on your orders are logged in the Communication tab. If you change a field in the header, you will be able to see it in the log. To see log changes, simply checkmark the 'Log changes' option under the Communication tab.
ORDERS FILES & FOLDERS
You have three folders created by default:
1) Internal files: It will only be showed for company users
2) Communication files: Folder with all files that have been uploaded from the communication tab
3) Order documents: All documents concerning the order - both company and supplier can upload files
To create more folders, use the 'Add folder' button.
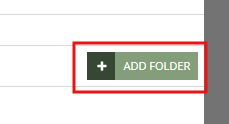
You can add as many folders as you like, and they will be visible to the supplier. Your supplier is also able to upload files to the new folder.
